
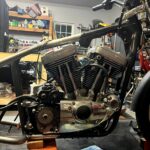


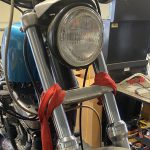

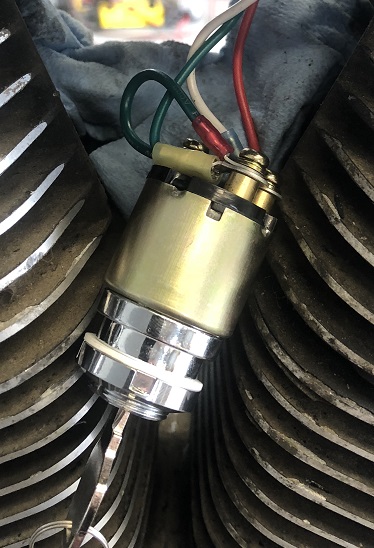
The wiring on the bike was a mess. Along the way someone installed a bunch of extra junk (turn signal canceller, brake flasher, etc) and moved a bunch of stuff around. Previous owner said it had fatbob tanks with a dash on it when it came to him. The coil was mounted to the center motor mount on the left side of the bike. I relocated back to under the front of the tank where it belongs. There was no ignition key, it is just a switch. Wired up the ignition switch and will mount it where it belongs as well.
I am definitely not looking to put it back to stock, but I am removing any of the extra crap that is not needed and getting it back to at least the correct color wiring and connectors. This will make it easier to troubleshoot issues in the future.
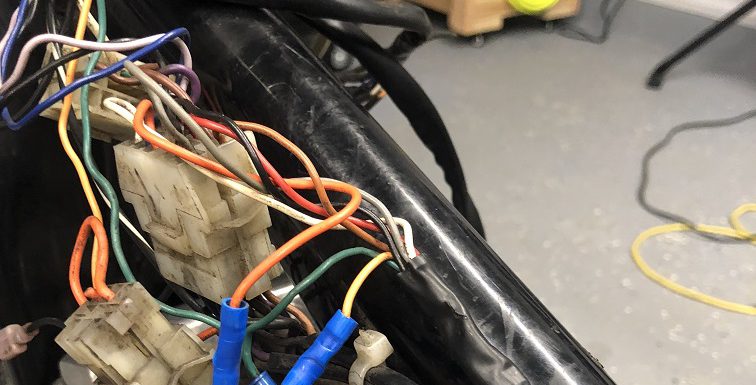
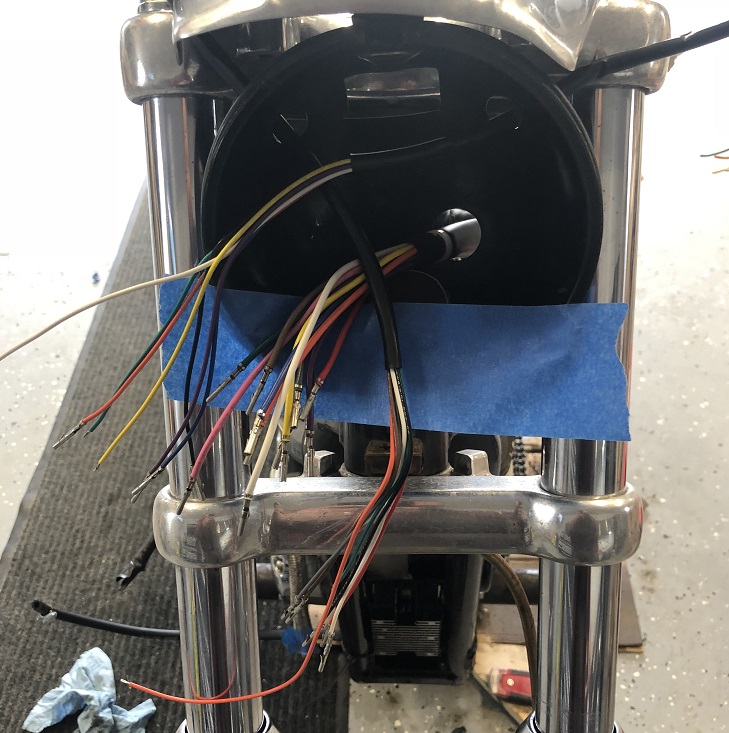
Below is a quick pick of the wiring shit show: lots of wires just cut off, stuff wired directly to the battery, stuff spliced in to other wires, no ignition switch, broken connectors, and missing parts and pieces.
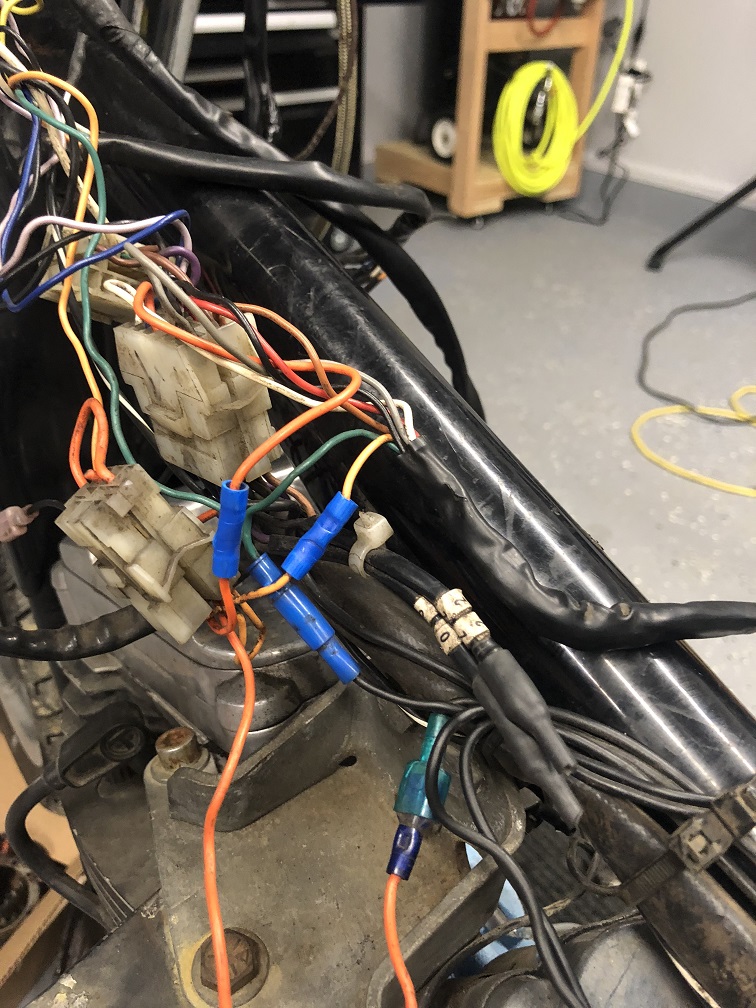
Sometimes you do what you need to in order to make things work, but this was a total mess. The connectors should be inside the headlight bucket, but I am guessing they were shoved under the dash between the fatbob tanks.
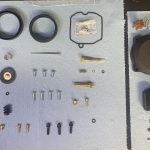
I picked up a Complete Wiring Harness from The Good Old Motorcycle Parts Company. The wiring harness includes the main wiring harness, rear wiring, and handlebar wiring. It is color coded to the OEM specs and comes with all the pins and connectors you need to wire up the bike.
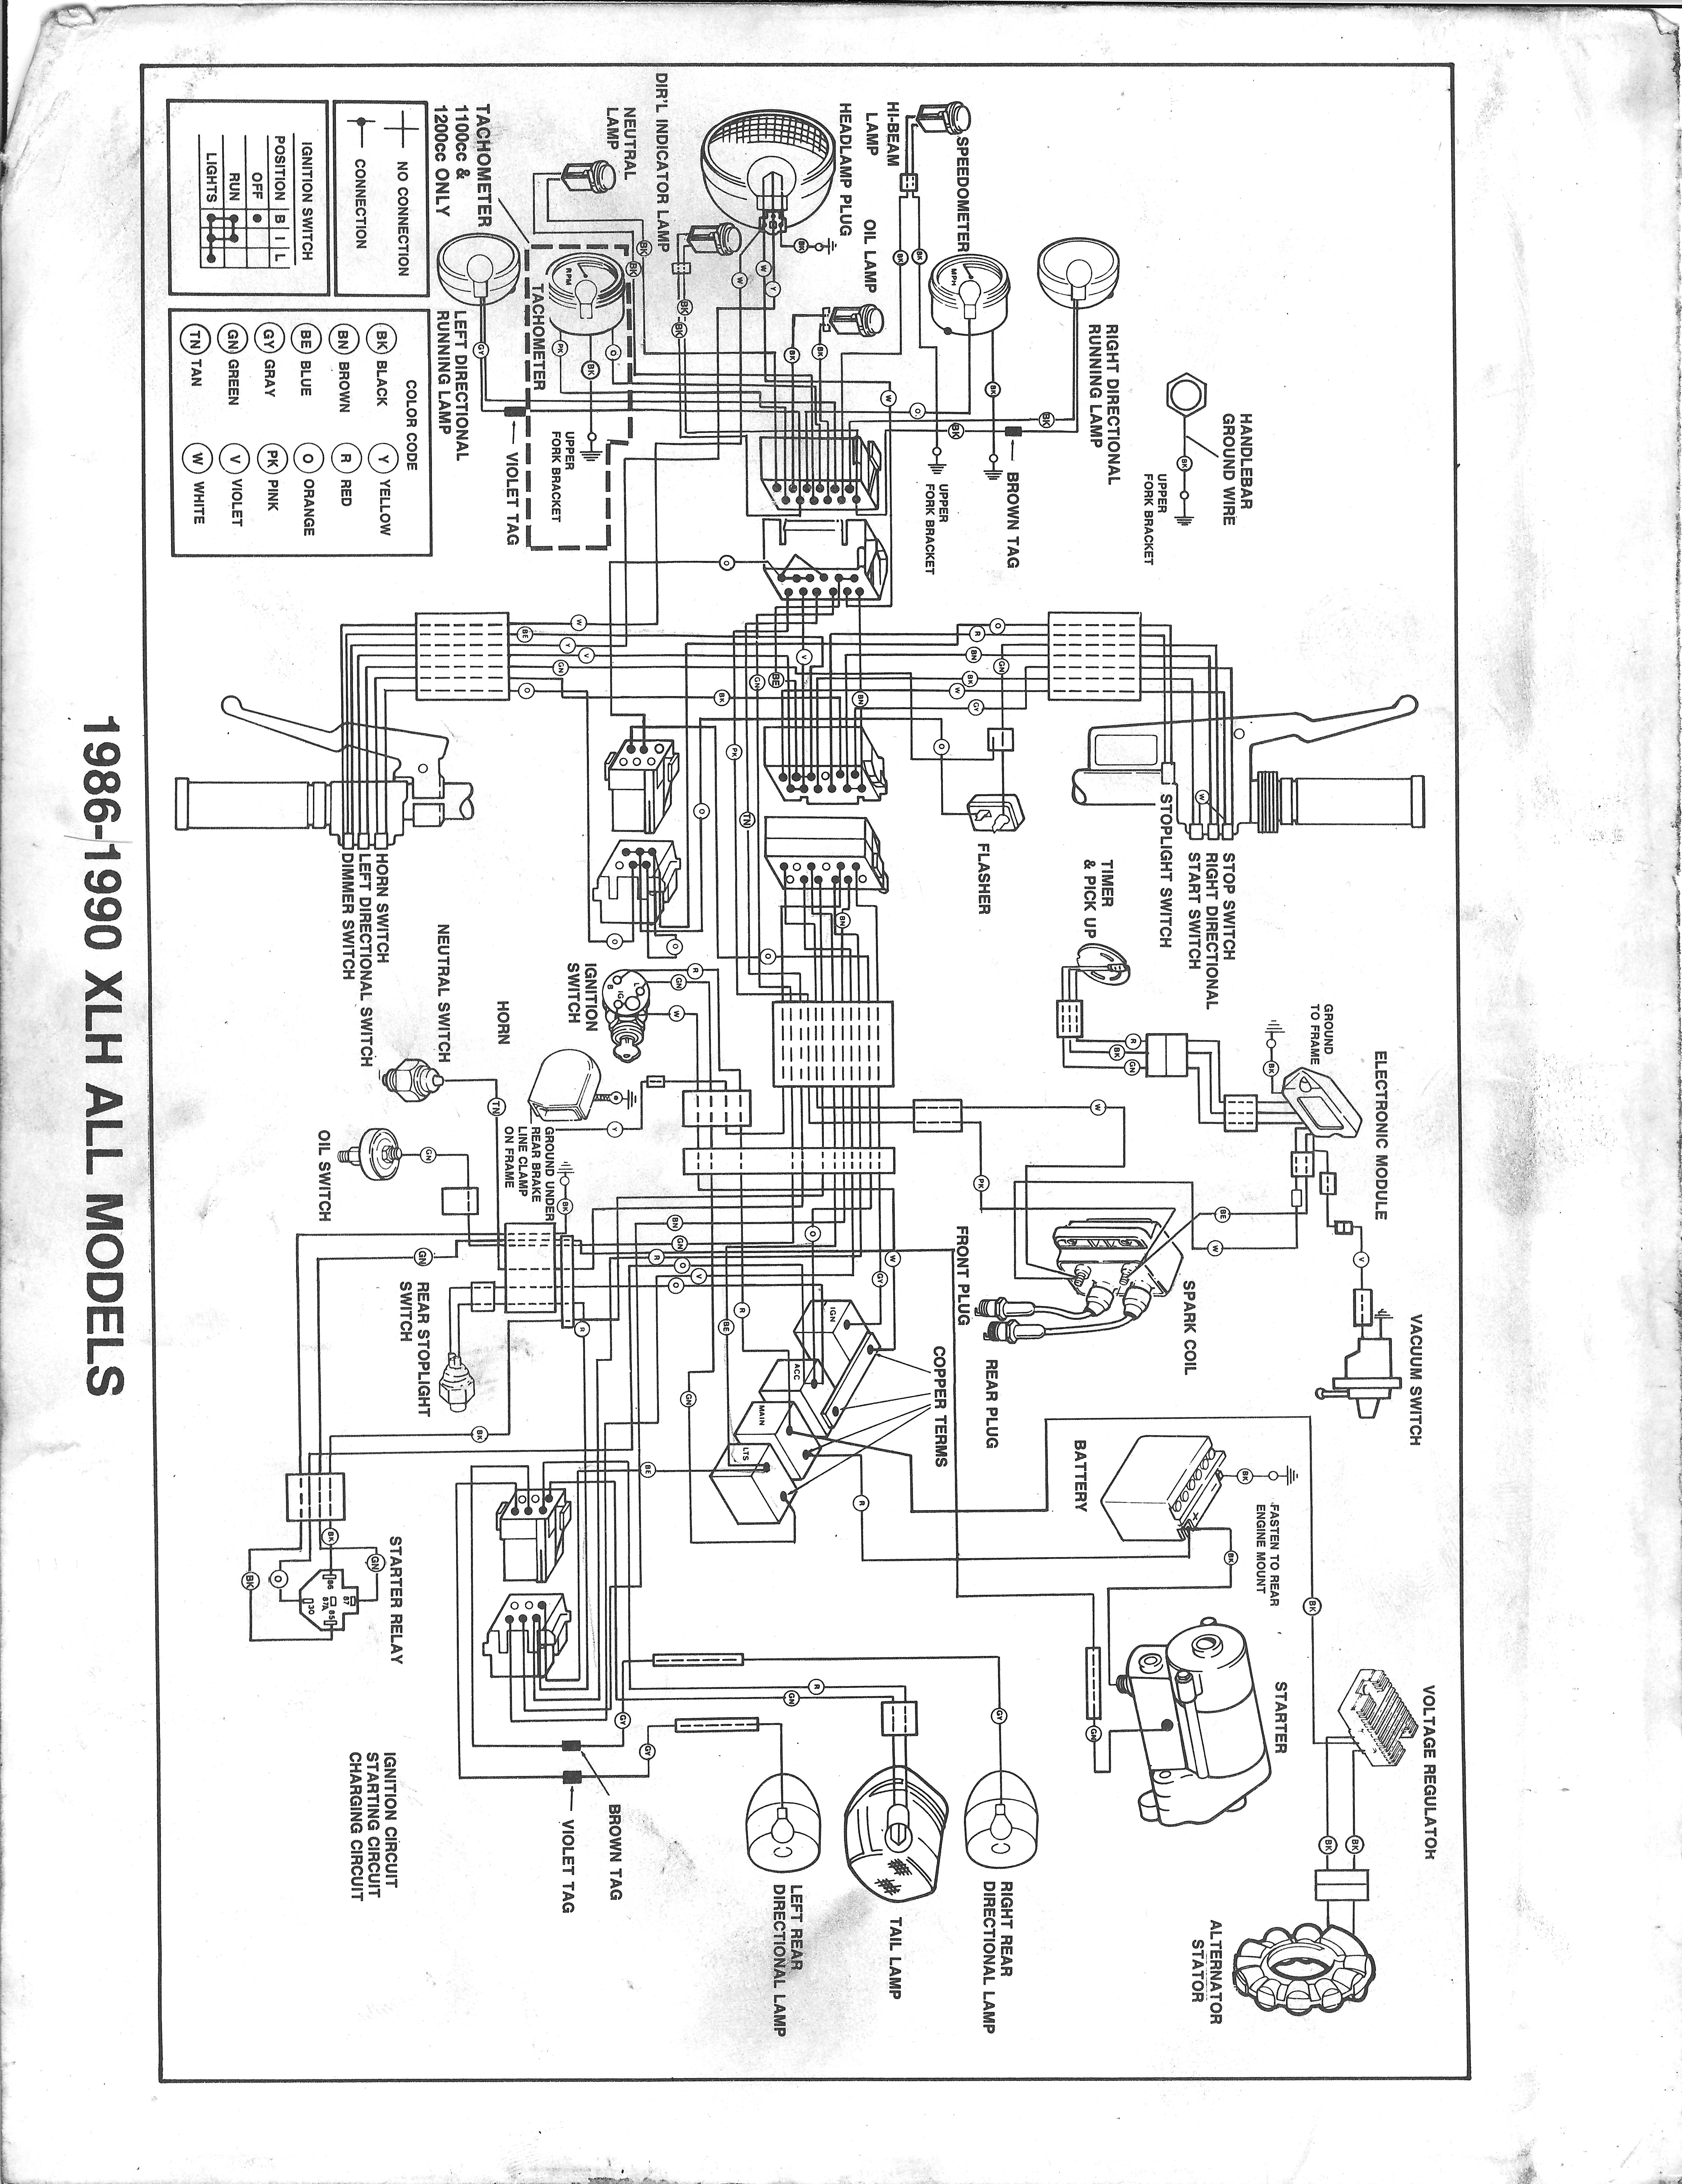
The connectors included with the wiring harness are not built, I assume this is so you can make adjustments for length. The wiring diagram in the Service Manual was a great help with building the connectors. I also found a copy of the wiring diagram for the 1990 Sportster online. Was much easier to read than the one in the service manual since I could zoom in on my iPad to trace the lines for the connectors (the one in the service manual is a bit of an eye chart).
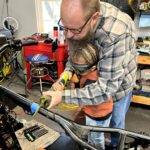
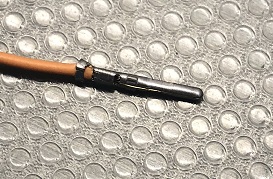
This pin crimping tool makes short work of installing the connectors on to the wires.
Took a couple of practice crimps to get the technique down. Lucky for me the wiring harness kit had a few extra connector pins. Below is a quick shot of the results of connection after a couple of practice runs with the crimp tool.

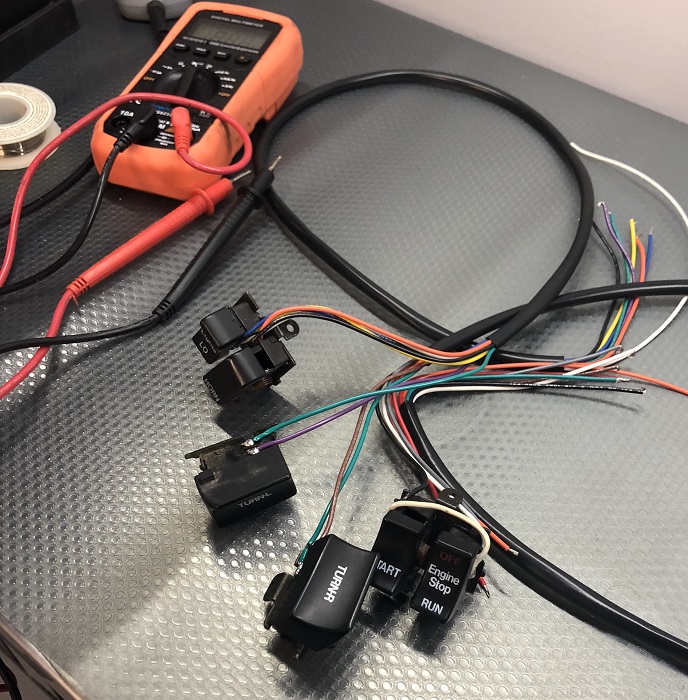
Got the switches all wired up and tested.
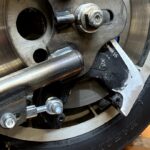
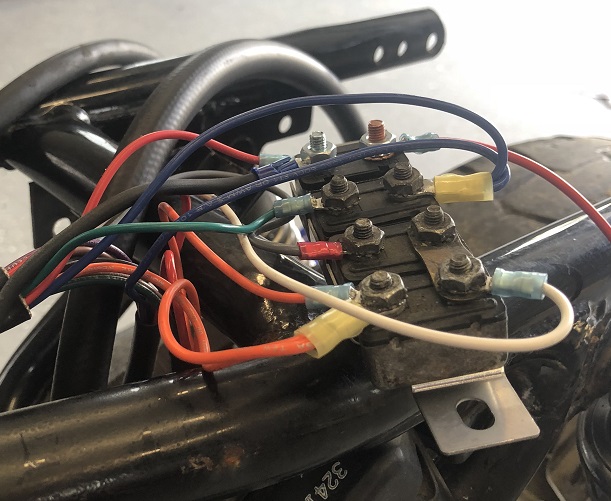
Here’s a look at the circuit breaker wiring. I didn’t take a picture of the old wiring at the circuit breakers but a lot of stuff was just wired straight to the battery, bypassing the circuit breakers completely.
Now we have an ignition switch with a key. It will get mounted on the bracket later on.
At the other end of the wiring harness in the headlight bucket. This is where everything terminates.
Most of the connectors are done and things are tucked up into the headlight bucket.
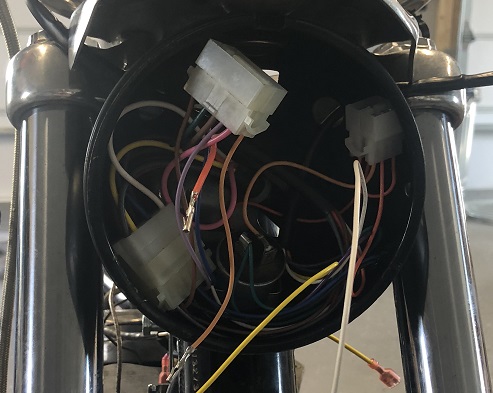
Still have to build one more connector and I will get it all buttoned up.
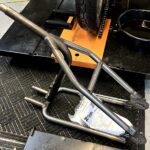
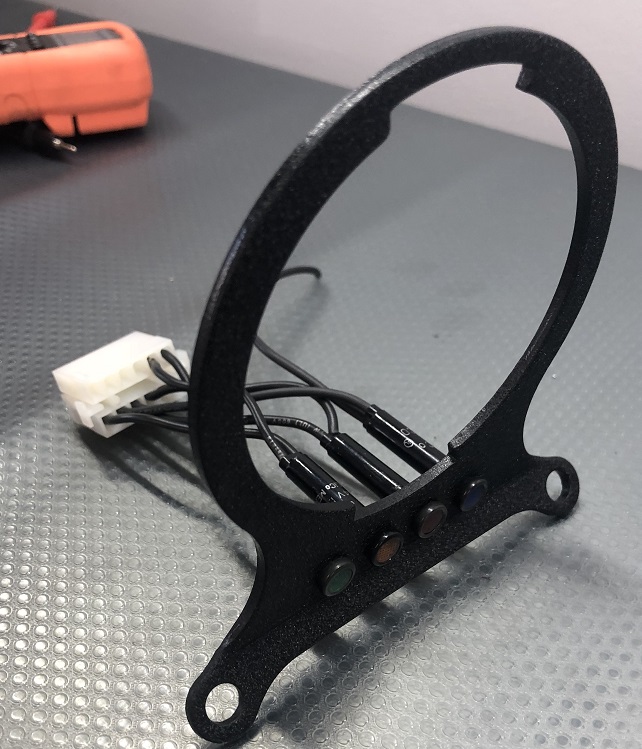
I picked up a speedometer bracket and the neutral, high beam, oil pressure, and directional indicator lights on eBay. Tested the indicator lights and got them all wired up.
Need to pick up a headlight, going to check with the local shop to see if they have one on the shelf. Then I’ll be able to finish things up. I haven’t decided yet whether or not it is going to get turn signals, but I wired it up as if it is.
Not quite finished with the wiring yet, but getting pretty close. I should be ready to make things light up in the near future. Getting closer…


Hello, nice. Post. I have a ,90 883,have the wiring mess all figured out on it.. There is one thing I don’t know,and I can’t find the answer. The white connectors, especially the one that goes through the back of the bucket and snaps in. I’ve been trying to find out the brand so I can see how to change out a few bad pins. Any idea what they are. I thank you for your input. Ride safe