
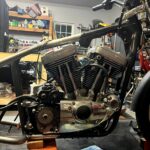


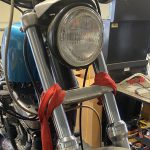

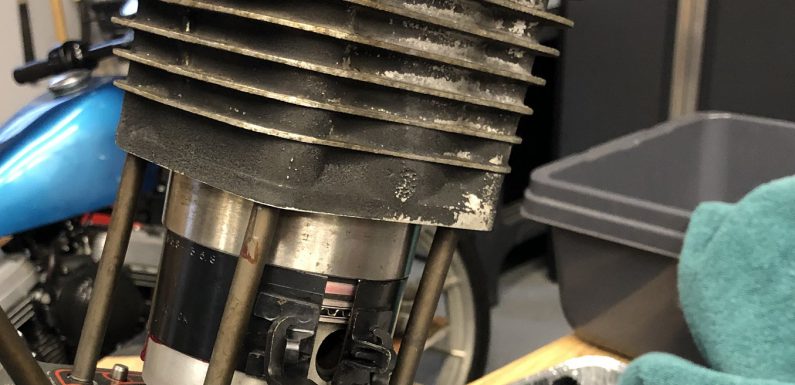
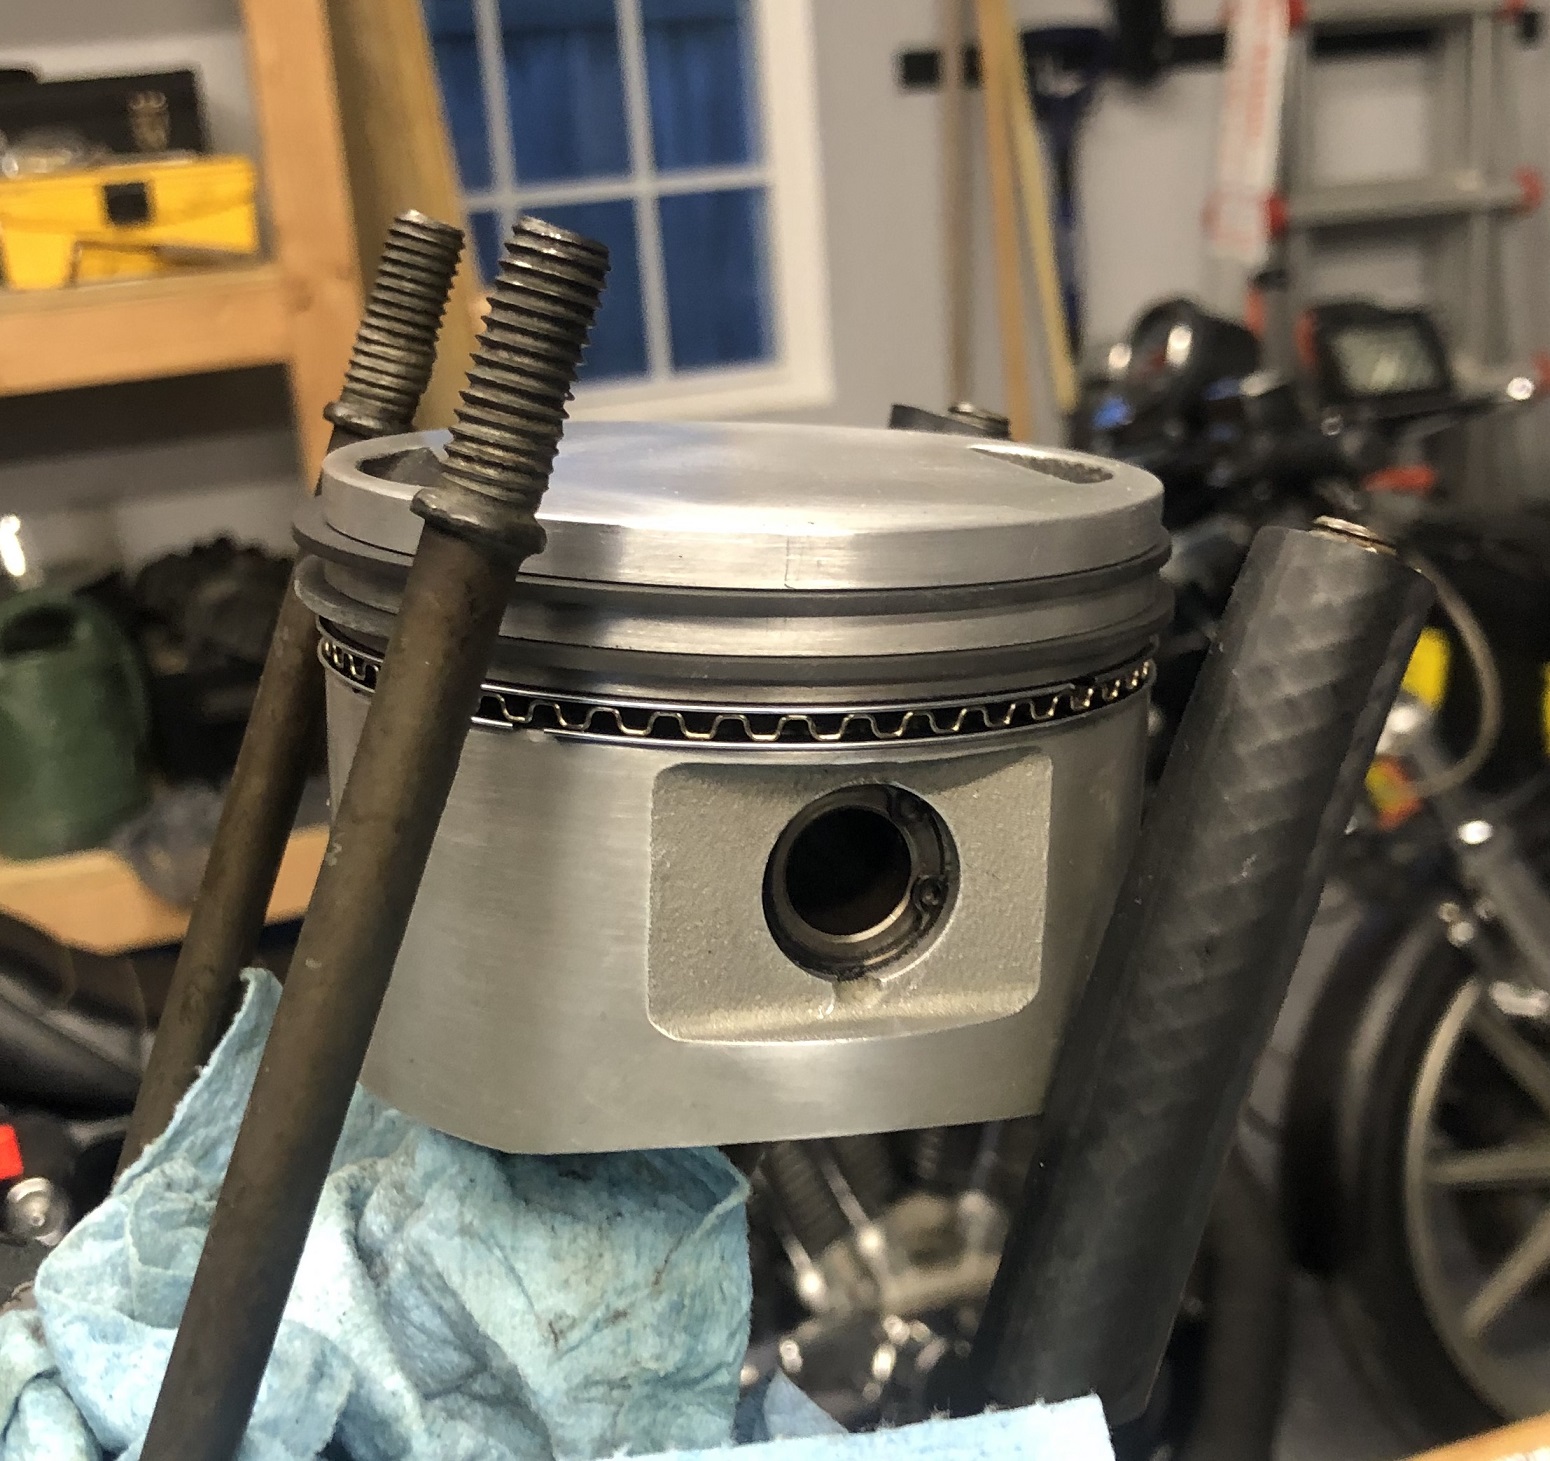
Making progress on the 1992 Evolution motor. Got the pistons installed and the wrist pins in. Installed the rings on the pistons and the cylinders installed. Starting to look like a motor again, instead of just a bunch of parts scattered about the workbench (there are still a lot of parts scattered about the workbench).
This video covers installing the piston rings. Good detailed information on proper installation of the oil ring.
The Hastings rings come packaged with the rings separated by where they should be installed and in what order. Handy!

Piston ring installation is pretty straight forward. I installed them after I installed the pistons on the crank.
Hastings has a detailed guide, and video, on their site for installing piston compression rings.
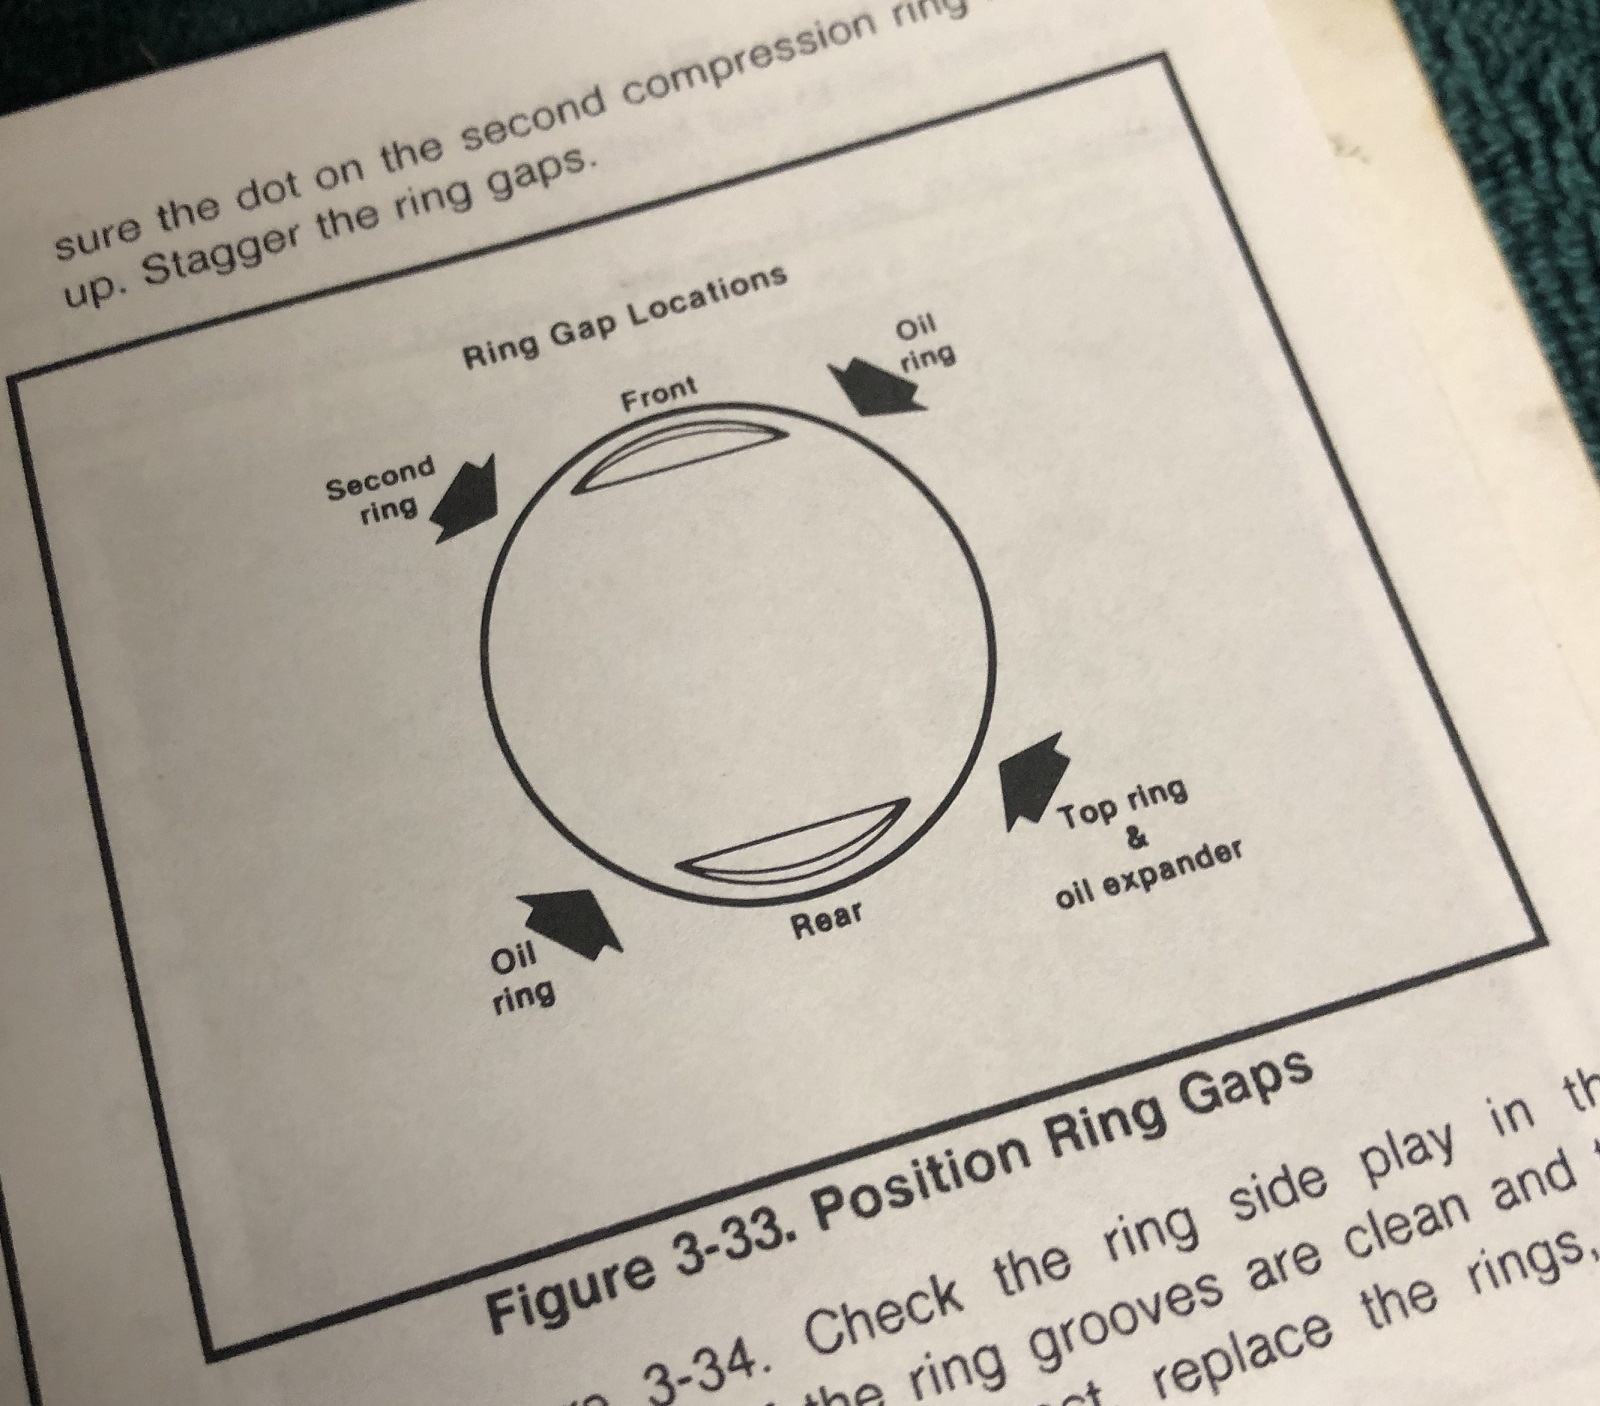
Positioned the ring gaps per the service manual.
Now to install the cylinders. This video walks through the process of installing the cylinder.
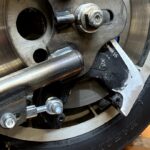
A piston ring compressor is required to install the cylinder over the piston. The ring compressor compresses the rings around the piston to allow them to be fitted inside the cylinder. I picked up a piston ring compressor tool from Amazon.

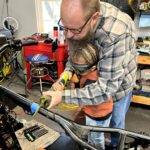
Installed the base gasket. Applied assembly lube to the piston, rings, and cylinder. Placed the ring compressor tool over the piston rings and seated the cylinder over the piston, resting on the ring compressor tool.
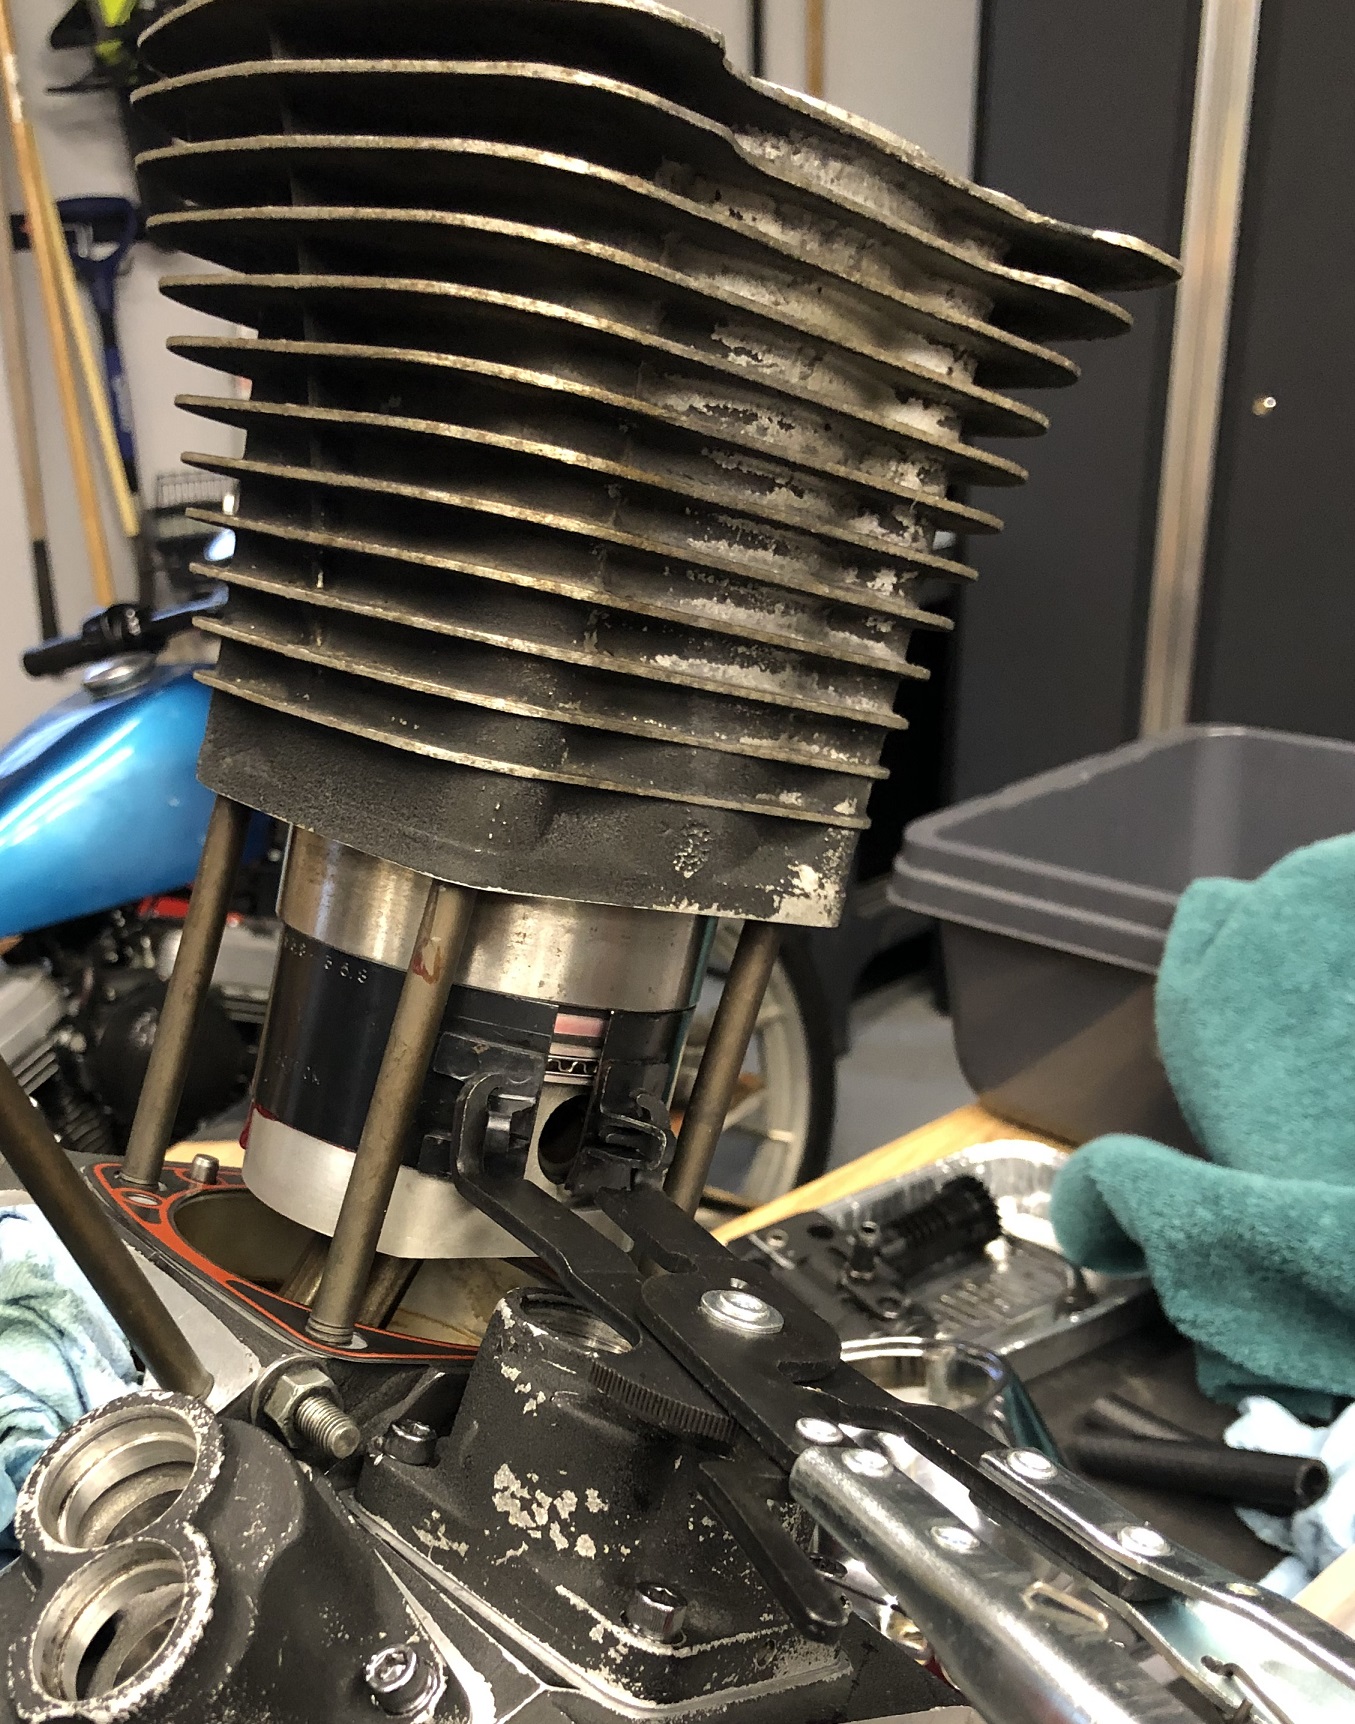
Lightly tapped the cylinder down, using the palm of my hand, until all rings were inside the cylinder, then removed the ring compressor tool. Tapped the cylinder down the rest of the way until it was seated on the base gasket.
I did the front cylinder first, then repeated the same process for the rear cylinder. Both cylinders are installed.
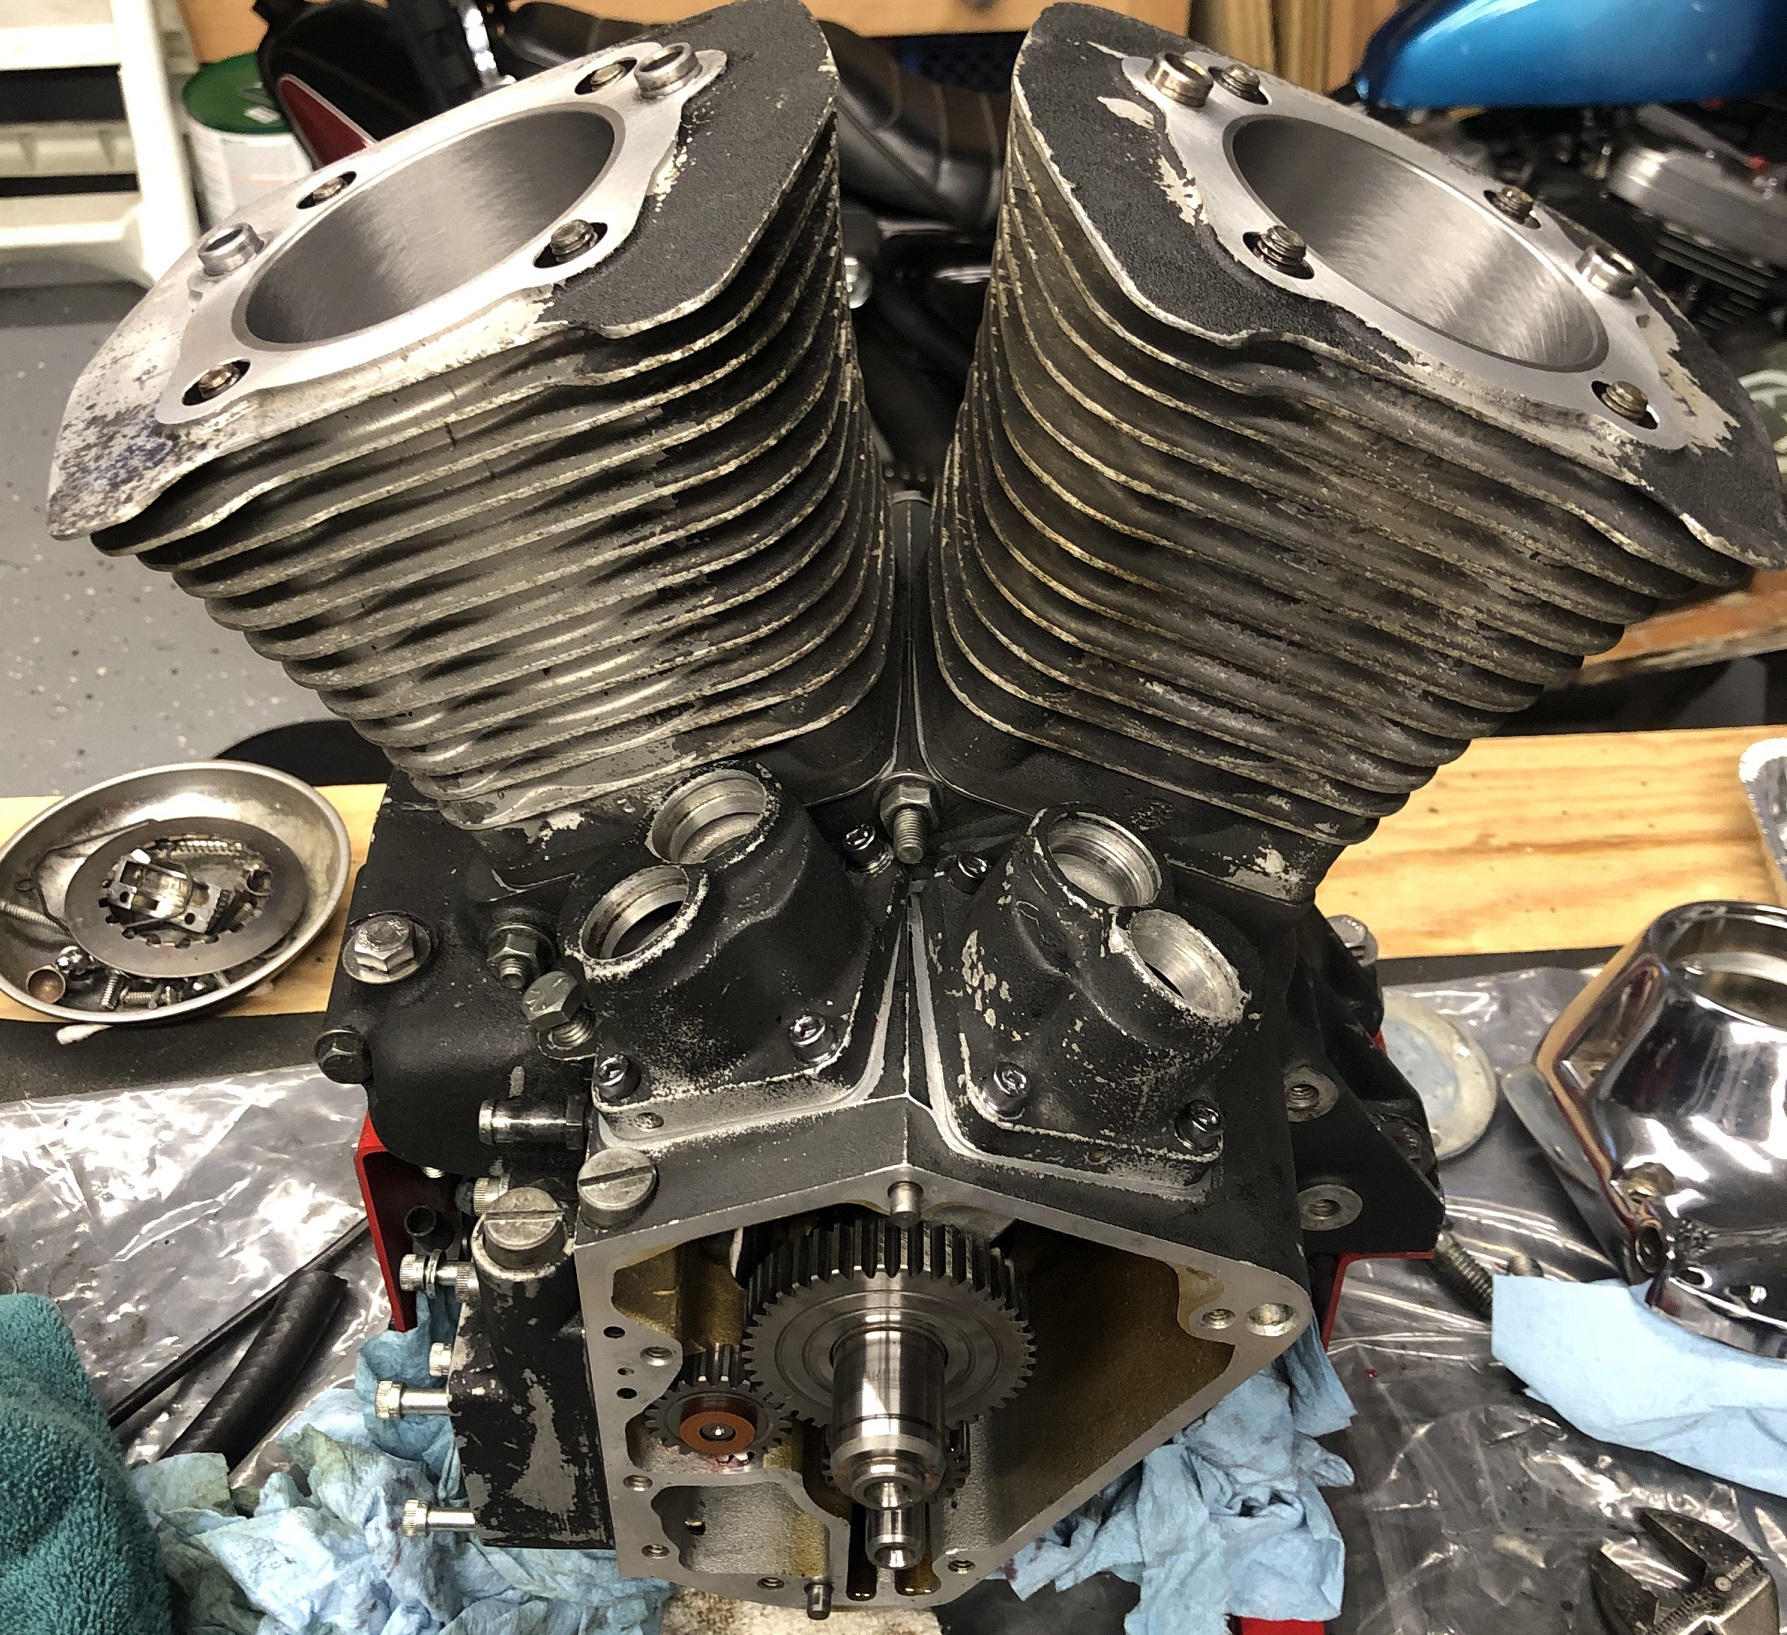
On to the cylinder heads…


