


The stock final drive on a 1990 Sportster was originally a chain. Someone had converted this one to a belt. This weekend it got put back to a chain. I know a belt is suppose to be a bit more reliable and requires less maintenance, but I like the look of the chain final drive. This bike won’t be for any long haul traveling so I think the chain will be fine (plus it will look badass).
There are aftermarket chain kits available, I did not buy one of these. I ordered a 21 tooth front sprocket, a 48 tooth rear sprocket, and a Diamond 130 link 530 chain. Found all of this on eBay for much cheaper than the kits (about half the cost).
This video walks through installing a chain drive (one of the companies kits, but same process for installing pretty much any chain final drive) from start to finish. From removing the belt to getting the chain to the correct length to adjusting the chain once installed.
The belt and old pulleys were easy enough to remove. I had the shocks and the rear wheel off so I didn’t cut the belt. Installed the new front and rear sprockets.
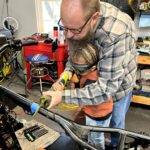
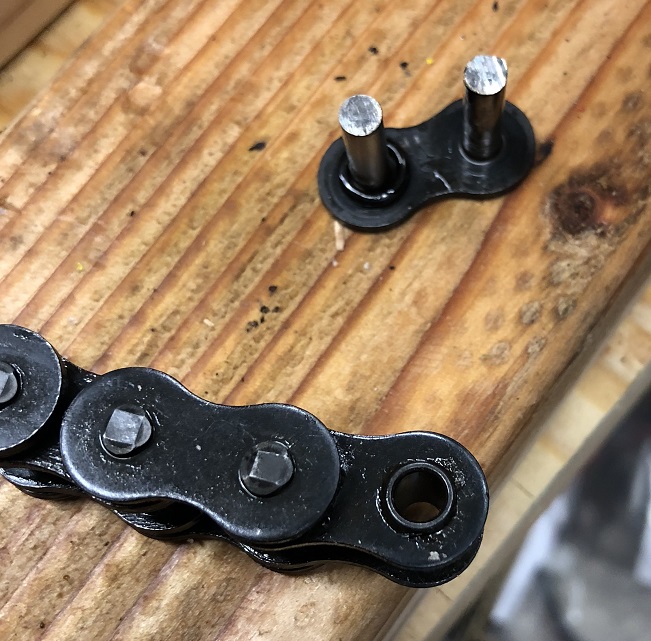
Had to get the chain down to the proper length. The video above walks you through how to do it. Just grind off the heads of the pins and drive them out with a punch.
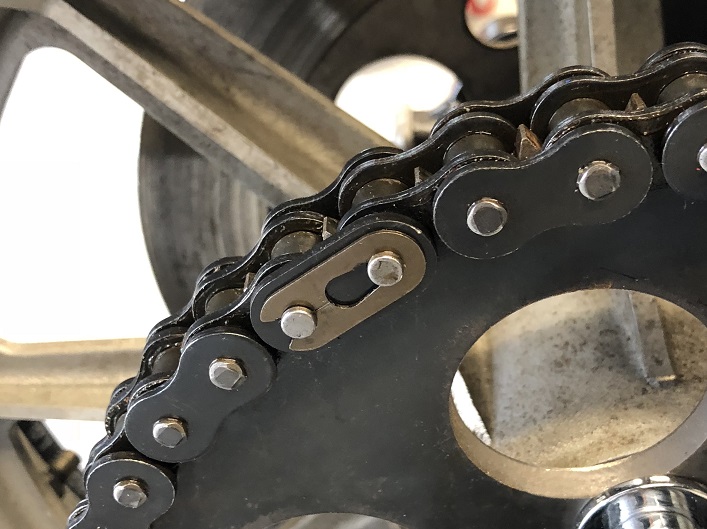
Put the chain back on the sprockets and installed the master link.
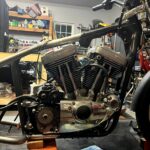
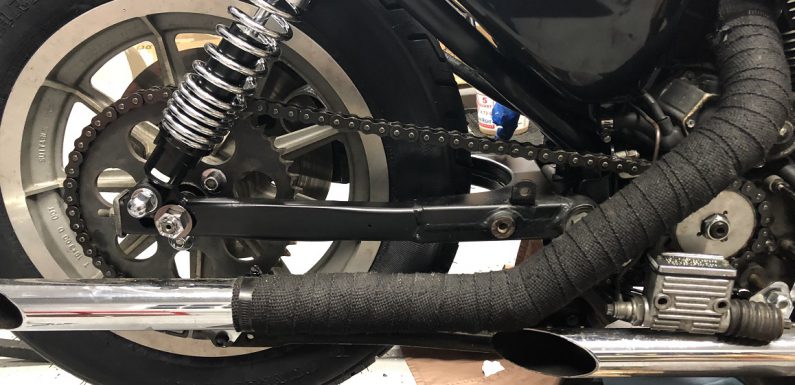
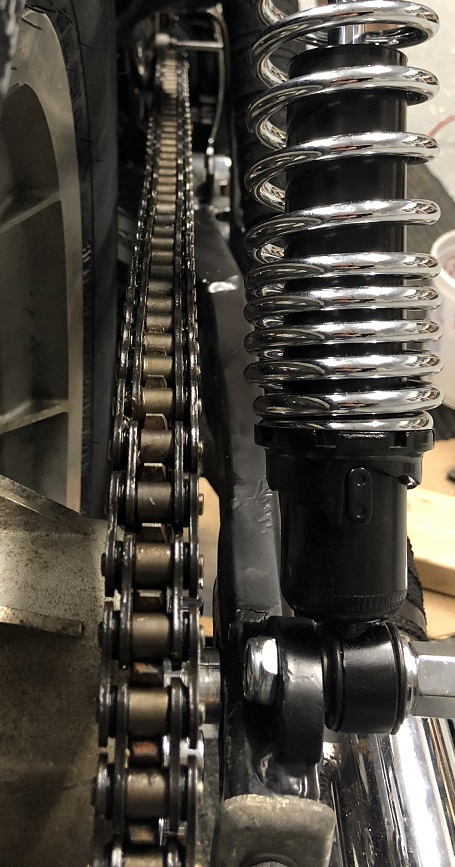
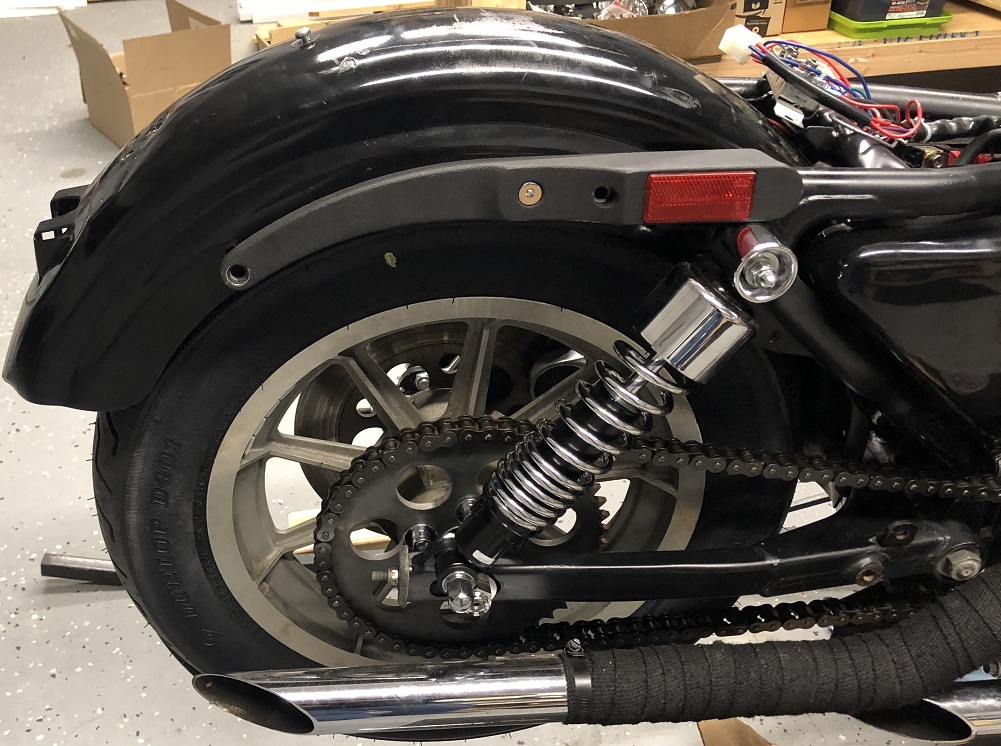
The new sprockets and chain look great on the bike.

The sprockets are the same as stock, so the stock ratio for the final drive.
Adjusted things to have about 1/2″ of slack in the chain. She looks like she is running straight.
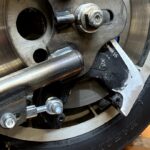
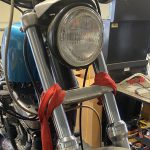
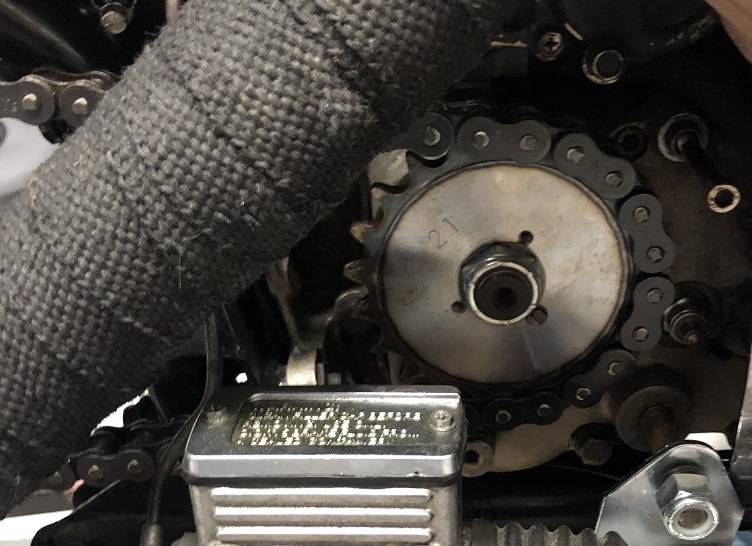
Just a quick picture of the new front sprocket peaking out of there.
The rear brake pads were pretty worn, they may have had a little (not much) life left in them, but I decided to go ahead and replace them. The rear caliper mounted.
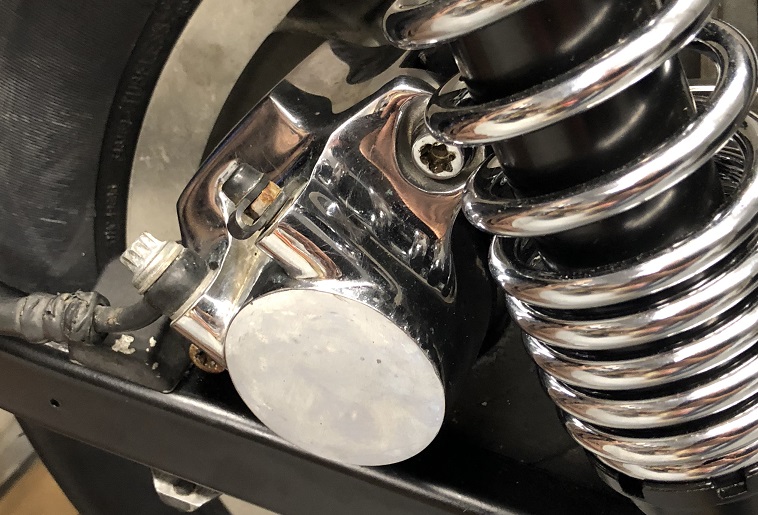
If the brake fluid for the rear is in the same shape the front was, it is going to need to be flushed and bled. On the list for next weekend.
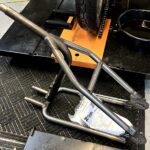
I test fit the rear struts and fender (got these used off ebay). Just mounted them up to make sure they would work (and see how they look). They will need to come off for me to finish up some wiring and such.
I think it looks pretty good.
A couple more minor things to do and she should be ready to go down the road. Hope to get her to that point next weekend.


