


I know this is not motorcycle related, but Spring has sprung and Summer is on the way. Things are still moving forward with the 1992 EVO Project, but with the weather warming up I have a few projects to do in the yard. One thing I have been planning for awhile has been a patio project. A place to relax in the evenings, enjoy a cigar, and burn shit in the chiminea. This past weekend I checked this project off my to do list.
I have had, what I call, my conversation pit in the backyard for 2 years with our old deck furniture. Works out great for conversating, but it is a pain in the ass to move things to mow. I shift things around to mow around/under and then I don’t move them back so there are dead spots in the yard which never recover. Here is a look at the conversation pit prior to the upgrade, you can see the dead spots in the grass.
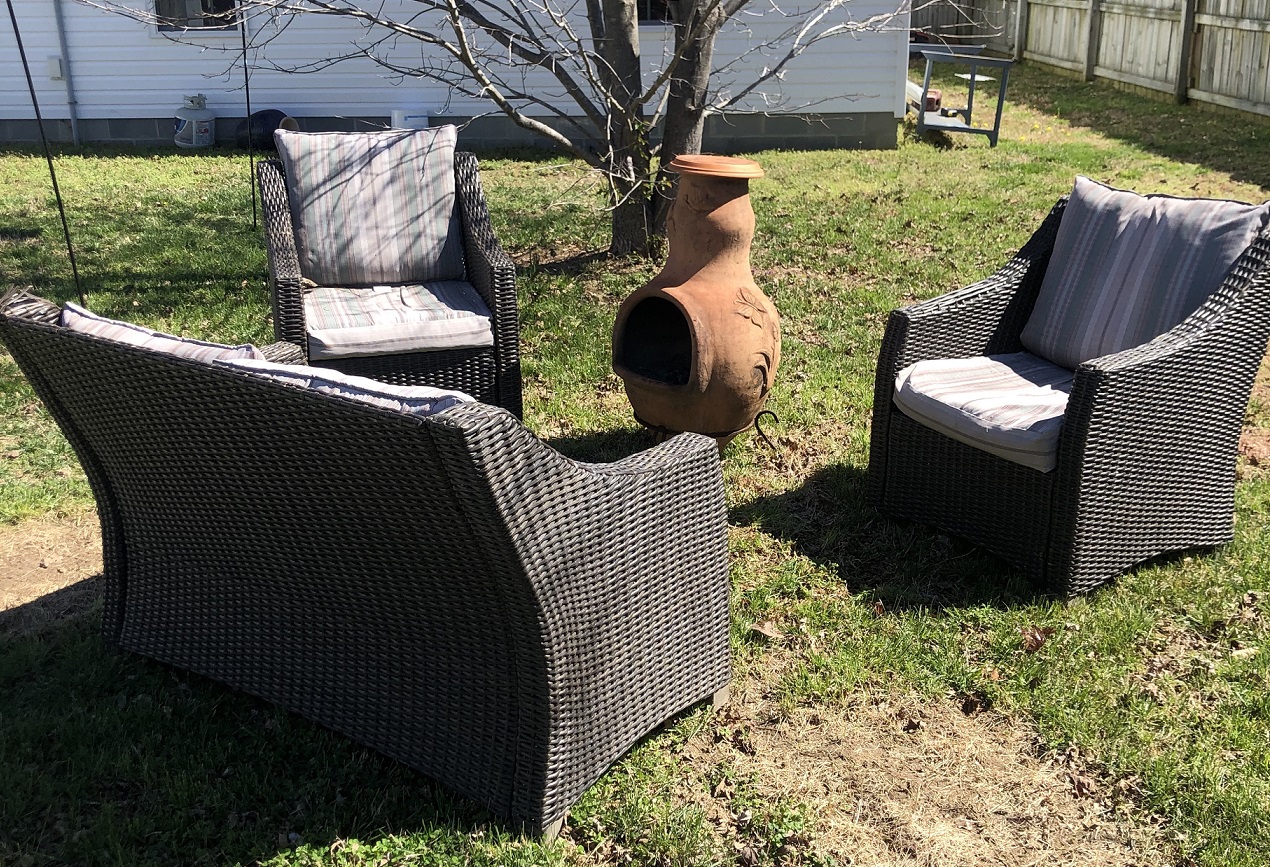
The new “cigar lounge” patio will not only be a place to hang out, have a fire, and enjoy a cigar, but it will also reduce the surface area of my yard which requires mowing (and will not leave a bunch of dead spots that look like shit). Less mowing, more motorcycling…
I did a lot of research on installing pavers and there are a lot of great resources out there, just search Youtube for installing a paver patio. I decided to go with a product that I came across during my research, Brock Paver Base. This product claims minimizes the amount of digging and base you need for a paver patio project. The reviews were mostly favorable and I watched a bunch of install videos on it. Seemed pretty easy to use… and it was.
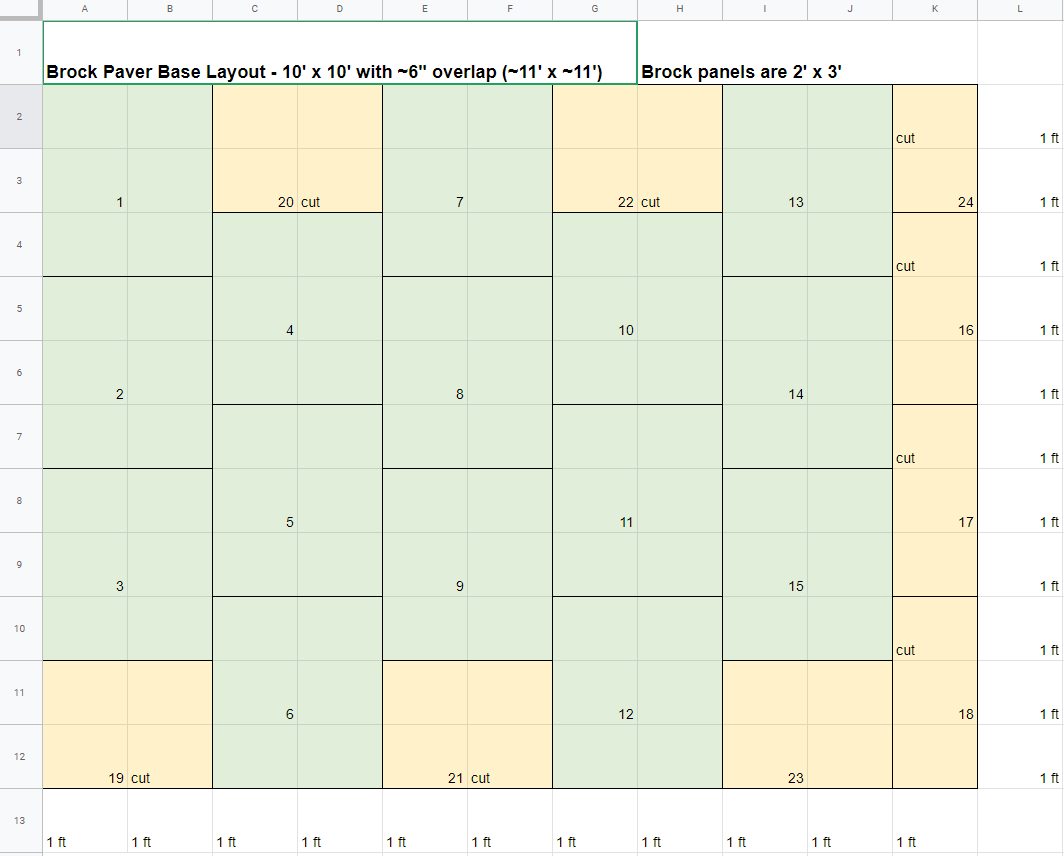
I can be pretty meticulous (not always, but most of the time) when I start planning out a project and this project was no different. Here is the spreadsheet I put together with the materials, costs, layout and such… Everything I need for a 10′ x 10′ paver patio purchased online from Lowe’s and had it delivered to my driveway.
For the installation of the patio I pretty much just followed the process in the Brock Paver Base instructions.
First I had to dig up the area. Removing the grass and digging down about 3″ in an 11′ x 11′ area. This was definitely the most difficult part of the process. I dug out the area using a pick and shovel over a couple of days prior to leveling and laying the pavers.
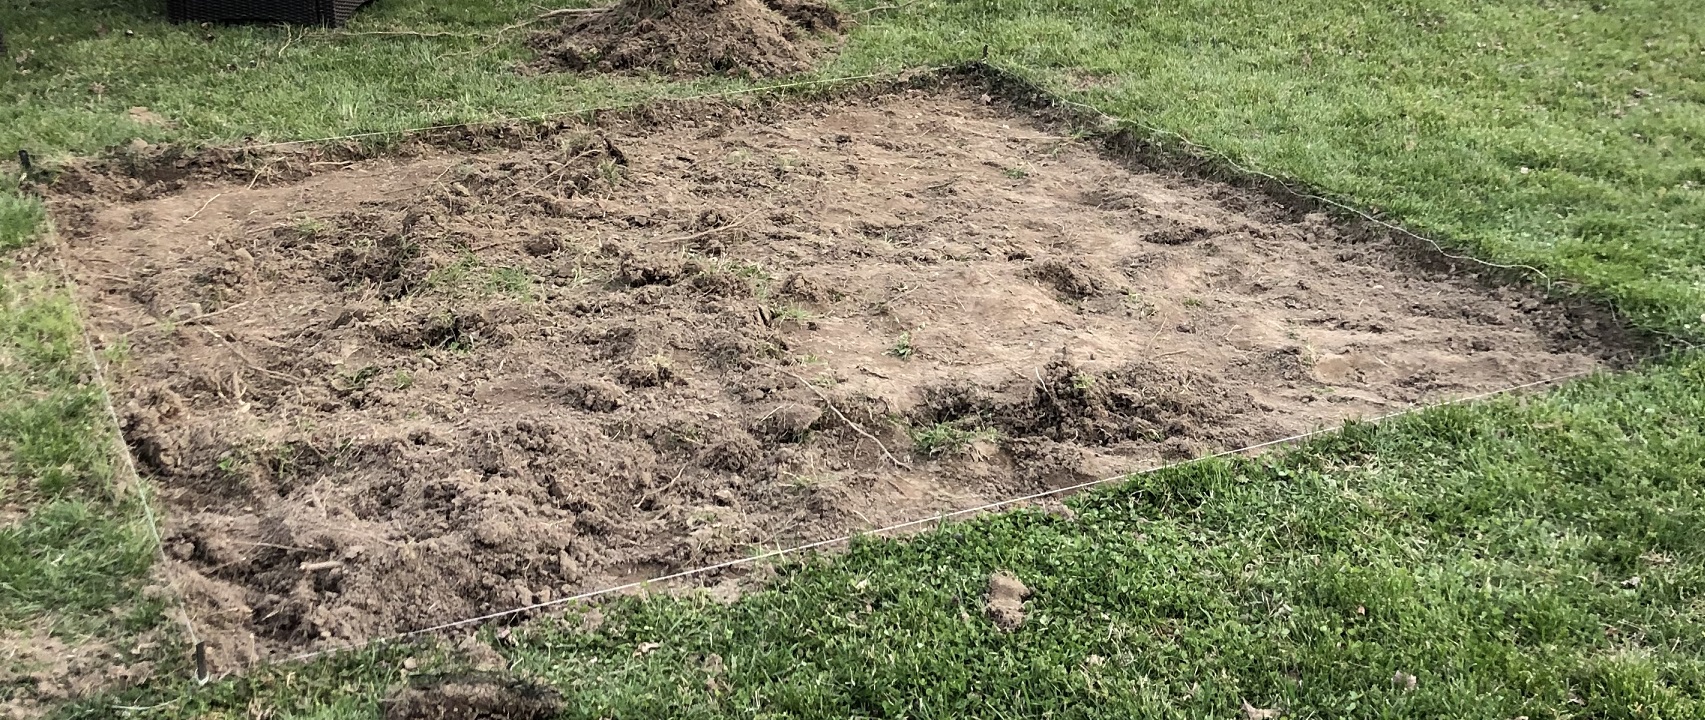
Couple of times while digging it out I thought; this is stupid, I should have paid someone to do this. It was hard work, it is done, I lived. I leveled the area and used paver base to fill in the low spots.
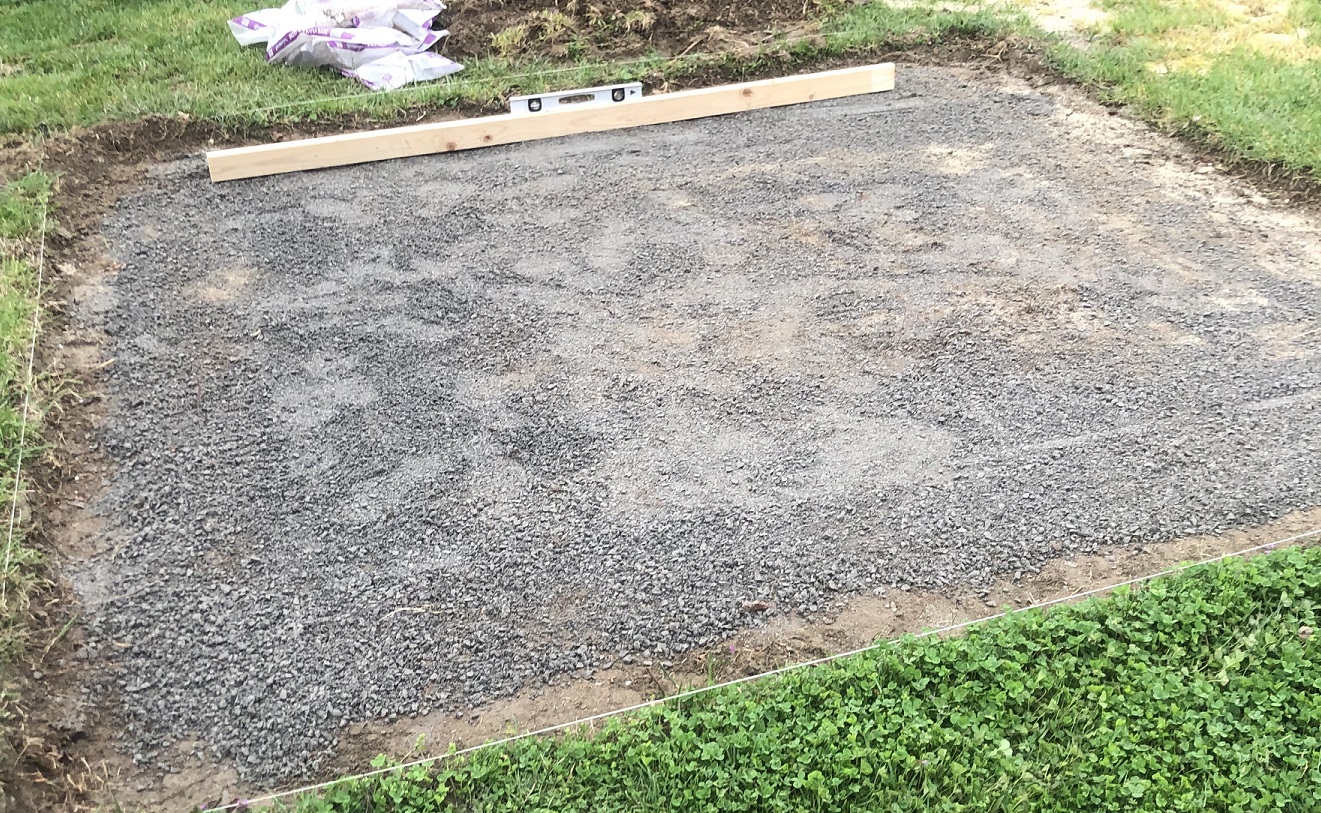
Rented a plate compactor from General Rental Center of Suffolk to compact the area. With the area flat, level, and compacted, I placed landscaping fabric down in the excavated area.
Leveling paver sand was placed on top of the landscaping fabric. Took 10 bags, give or take, of leveling sand to get a 1/2″ base. I used a 2×4 and 1/2″ rebar to screed the sand to level the base.
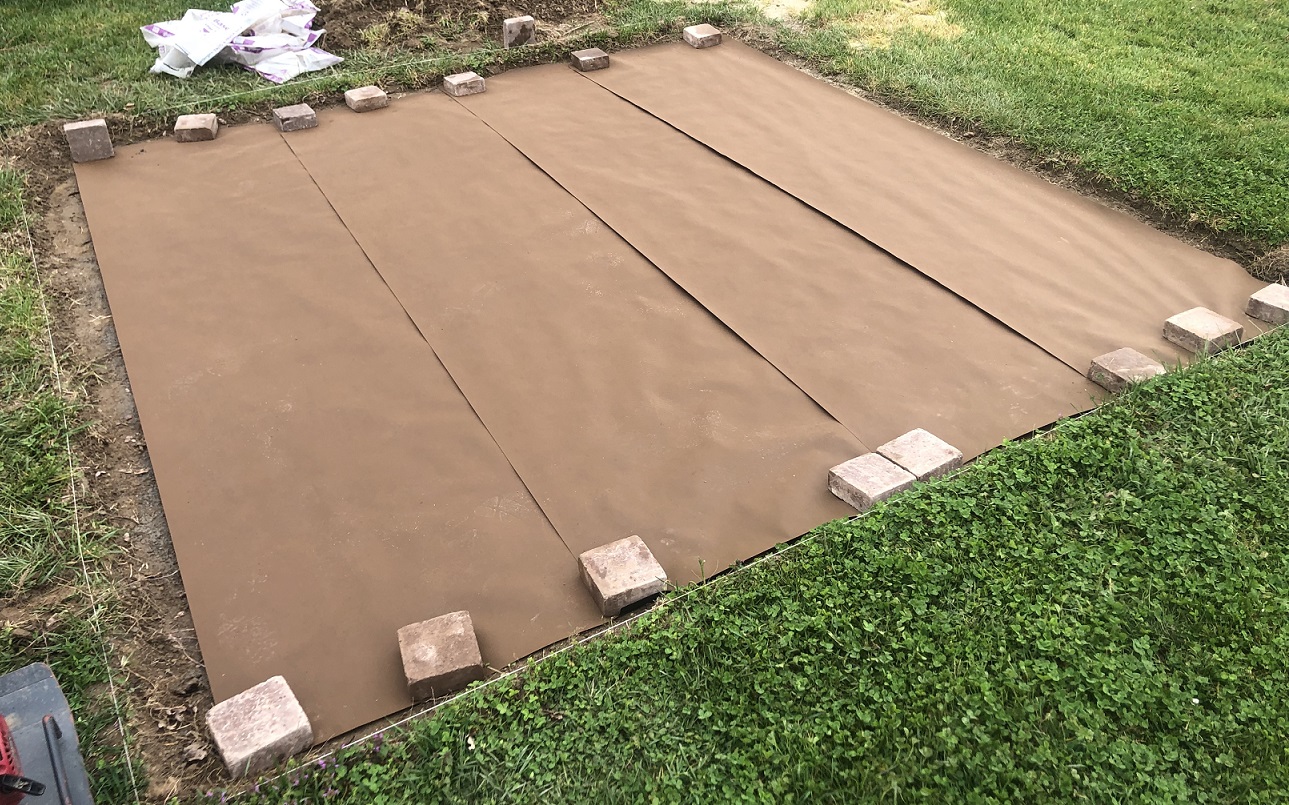
I planned the layout for the Brock Paver Base Panels beforehand. The panels are not inexpensive (cheaper when compared to the base material and time, but still not cheap) and I wanted to make sure I did not have a lot of waste. The Brock Paver Base Panels are 2′ x 3′ and with cuts it took 24 panels to cover a 10’x10′ area with a about a six inch edge (so 11’x11′) all the way around.
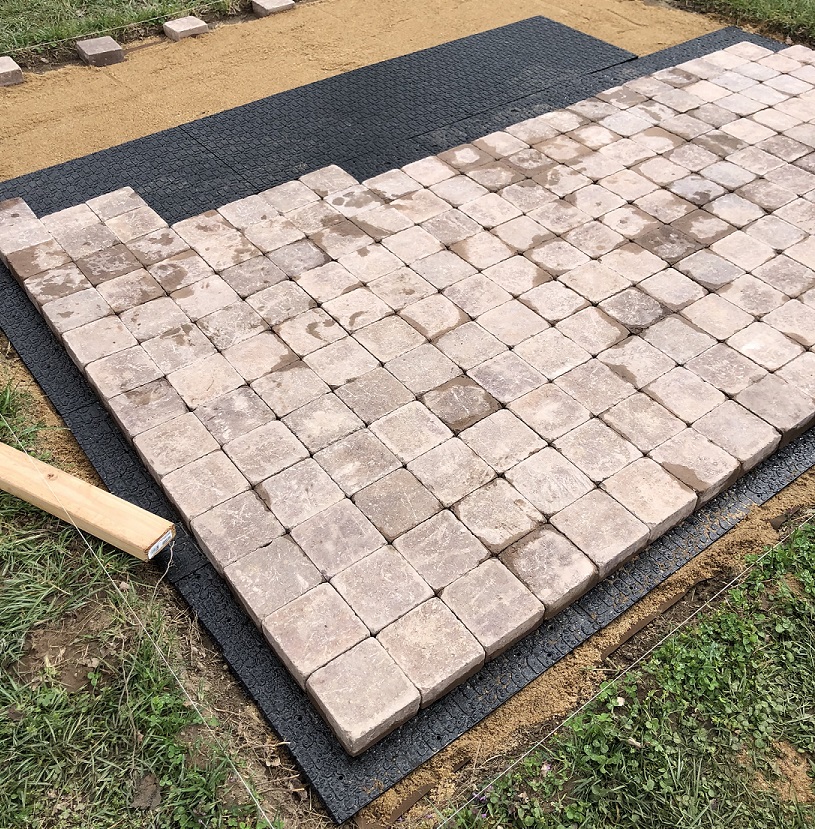
I used a 6″ x 6″ concrete paver which I ordered in a pallet with enough pavers for a 120 square feet project. Figured that would give me some extras if there are any broke, or I want to use the excess somewhere else, or whatever (better to have a little extra and not need it than to not have enough). I installed the paver base panels and my pavers working in rows.
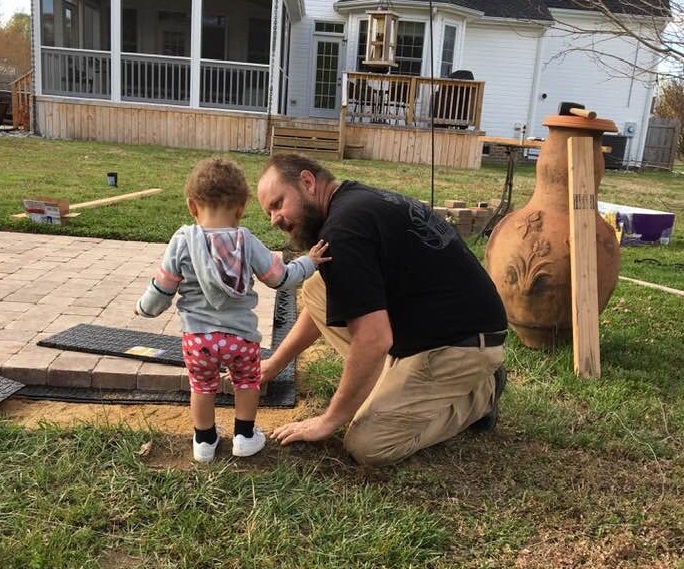
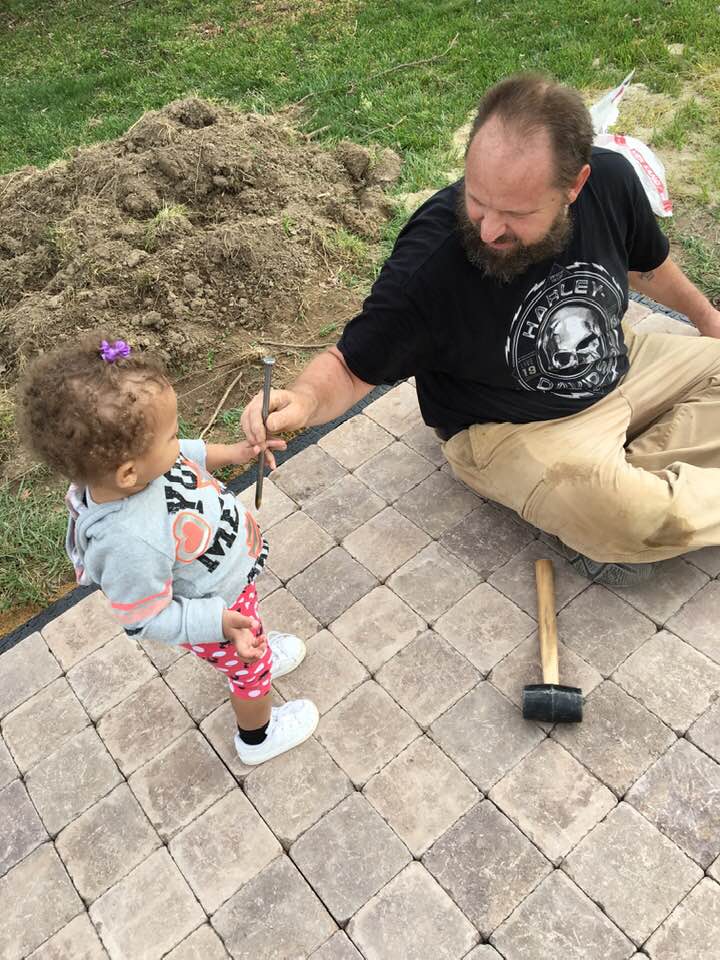
My granddaughter supervised, making sure I am doing it right.
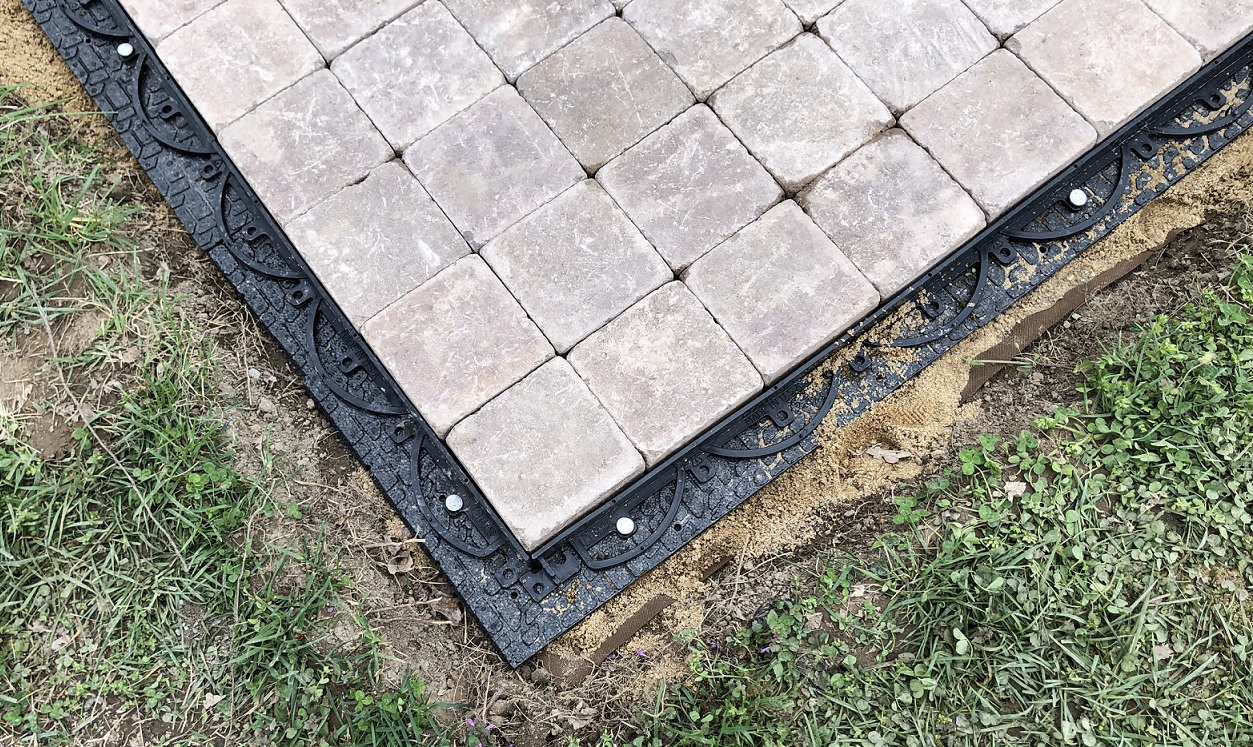
I installed the paver edge restraint using 10″ steel landscape spikes.
I also had a little help getting the edge restraints installed. Again, mostly she was making sure I did it right 🙂
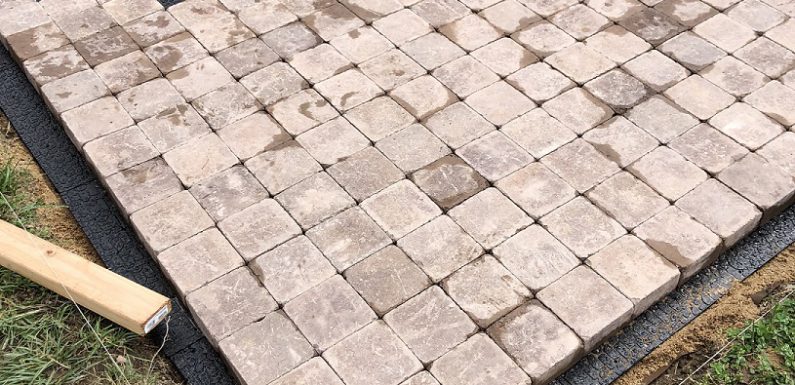
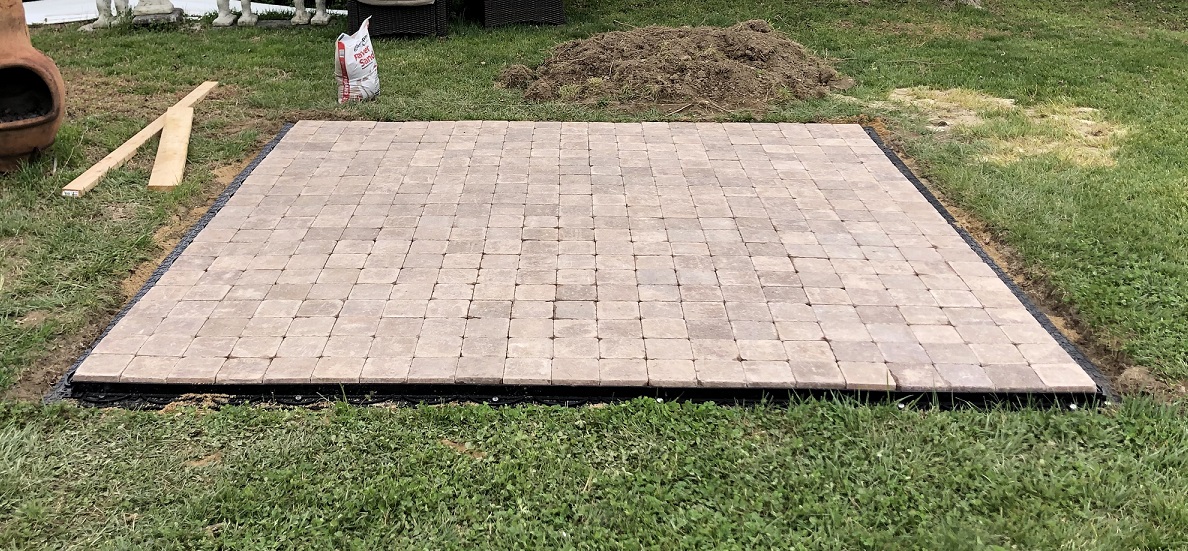
The pavers are down and the edge restraints are in. I think it looks pretty good.
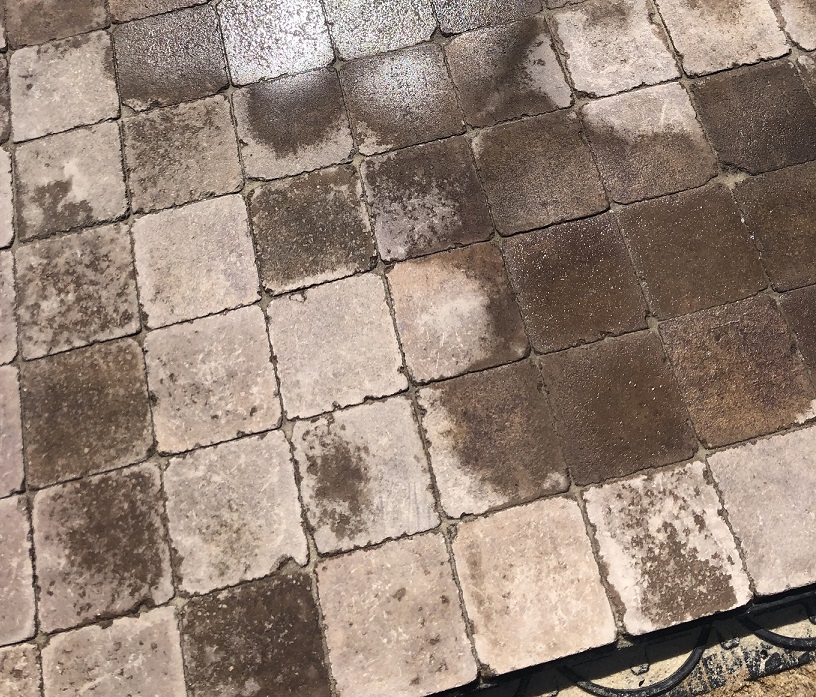
The polymer sand is brushed into the joints to lock in the pavers. I used a hand tamper to lightly tamp the pavers to work the polymer sand into the joints and then wet it down per the instructions.
With the material costs and the cost of renting the plate compactor I am just a little over $1150 on the project. As far as time goes, digging the area out took a few hours over a couple of days, then a good part of the day Saturday to level, compact, prepare, and lay the pavers, and finally a couple hours on Sunday to finish things up with the polymer sand.
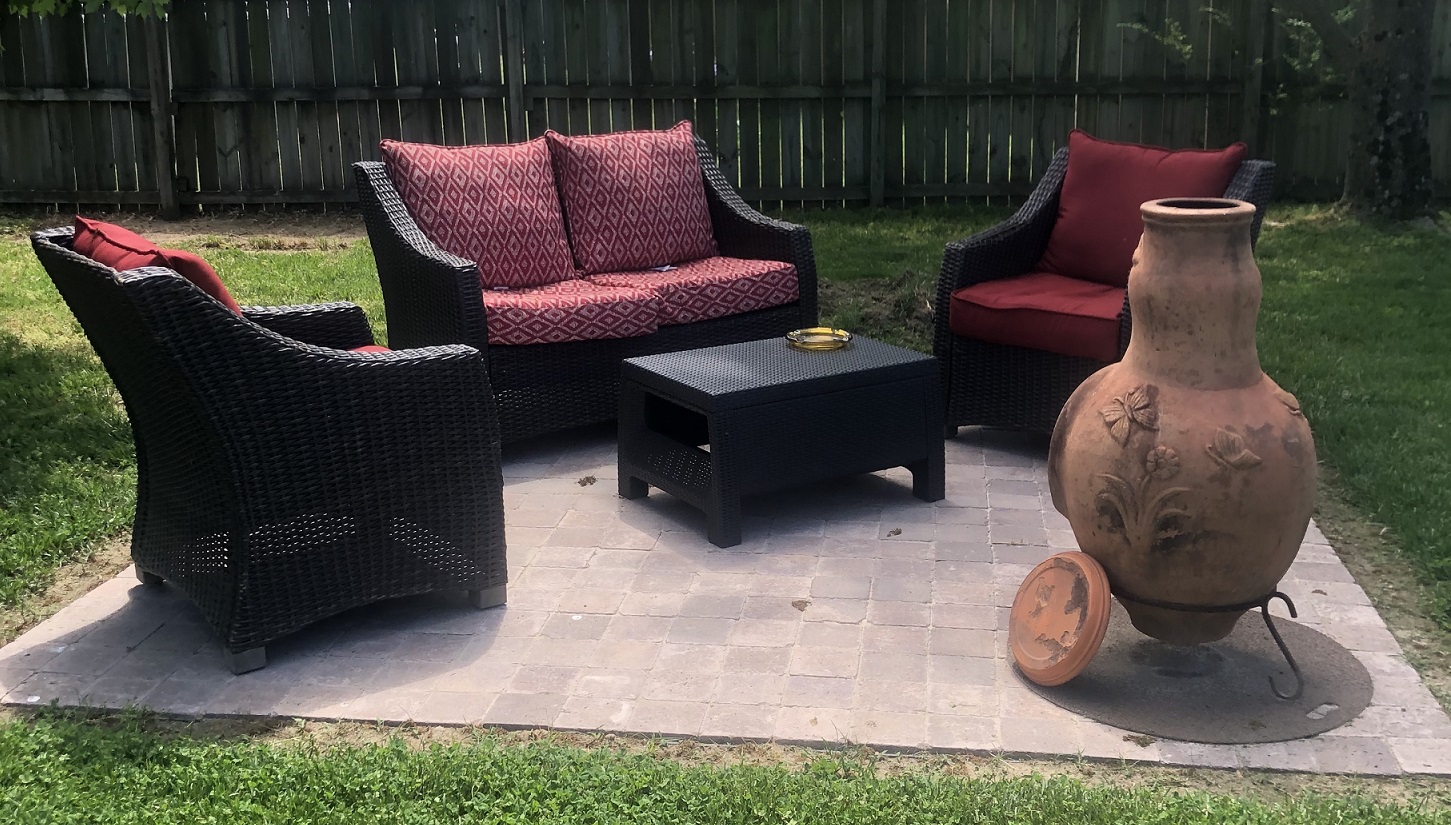
Overall I think the patio turned out pretty good. Now I just have to backfill, move my chiminea and furniture on it, and enjoy a cigar. Not a bad weekend project. I’ll update this post with a picture once I am moved on. Here is a picture of the cigar lounge with the furniture and such.
Like I said I know this is not a motorcycle project… it’s my site and I do what I want…
Swing by, have a cigar, and bullshit about motorcycles… I’ve got cigars, but BYOB.
Now to get back to work on the EVO project.
Here is a great video of a patio project from start to finish using Brock Paver Base.


