
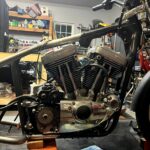


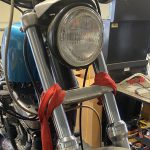

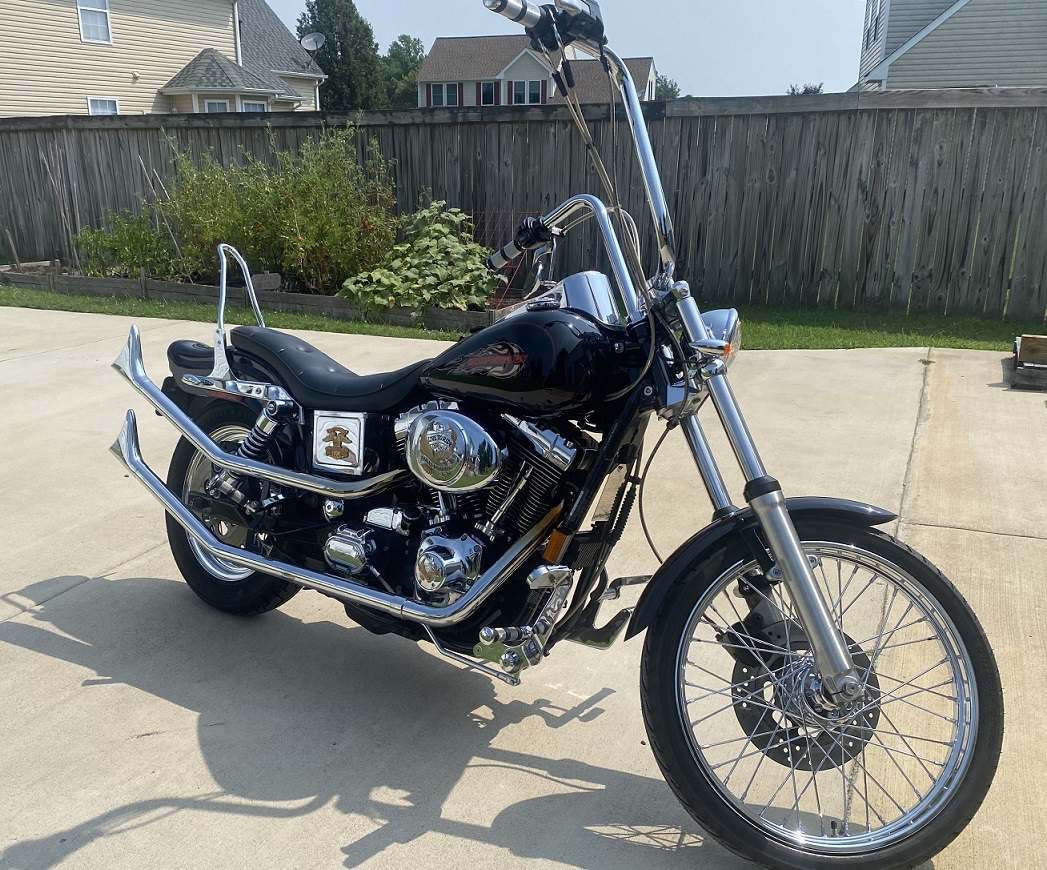
I picked up this 1999 Harley Davidson Dyna Wide Glide (FXDWG) a few weeks ago. Very nice bike. The bike was very well kept by the previous owner but it had been sitting for awhile so the battery was dead and would not hold a charge. First time I have owned or tinkered on a Dyna model.
I ordered a Twin Power AGM Battery from JP Cycles. I am a fan of the Twin Power “Shocker” Batteries but I have not been able to find them anywhere. I wanted to get this bike back on the road so I settled on this AGM Battery since it was readily available.

To replace the battery remove the seat and disconnect the battery cables, negative first. The negative cable is attached to a stud in the frame, it will stay attached to the negative terminal on the battery. You disconnect the negative cable from the battery terminal after you remove the battery from the bike. Then disconnect the positive cable.
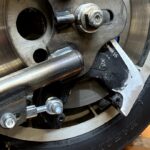
The battery, cover, and tray on the Dyna are a bit different than other models, at least different from other models I have messed with (Sportsters, Softails, Touring…). The battery tray sandwiches the battery and battery cover between the tray and the frame to hold it in place. There are 2 bolts, one that locks the tray in place and the other that lowers the tray. The tray pivots on a keyed post on the front of the battery tray which fits in a slot in a tab on the frame.
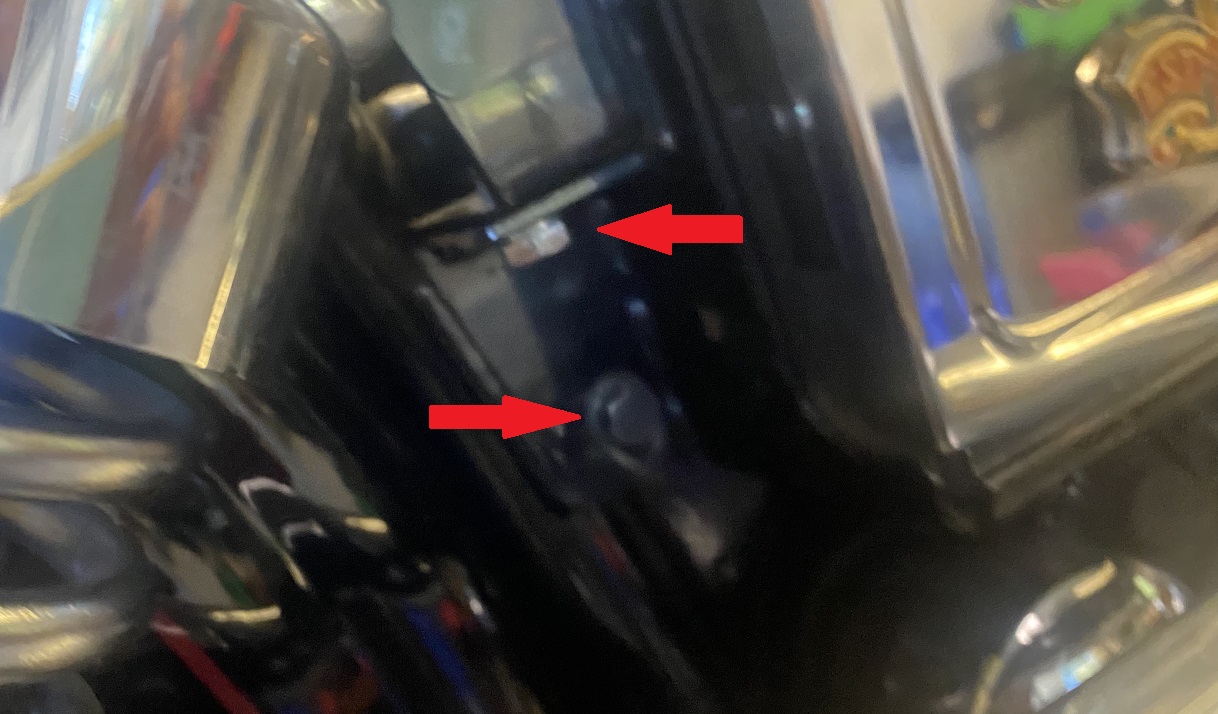
Sorry the picture is so grainy, but hopefully you can see the two bolts on the rear of the battery tray that hold the tray up against the frame. The bottom bolt locks the tray in place, the top bolt lowers the tray. Use 1/2″ socket to remove the bottom bolt completely, then loosen the top bolt with a 1/2″ wrench until the tray is lowered far enough to get the battery out, you should not have to completely remove the top bolt.
I did a video blog on removing and replacing the battery in the Dyna. Check it out:
Remove the negative battery cable from the old battery and put it on the new battery. To put the battery back in you just reverse the process. When reinstalling the battery connect the positive terminal first, then the negative cable to the stud on the frame.
While I had the battery out I put on a NOCO X-Connect Cable to allow me to easily connect my NOCO chargers/tenders. This gives easy access so I don’t have to remove the seat to connect a charger to the battery.
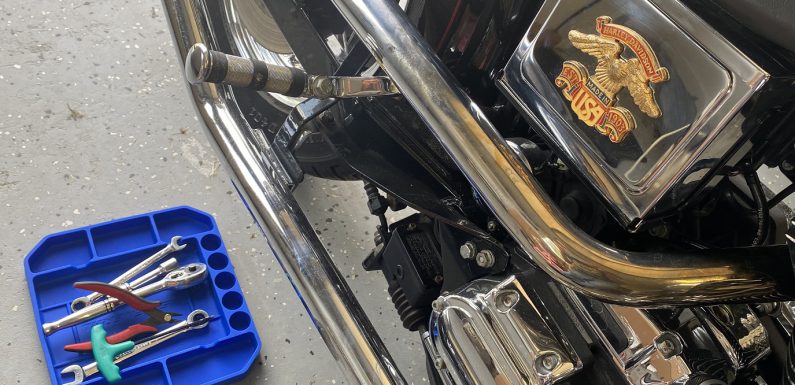
I also replaced the rear seat screw with a knurled thumb screw. These knurled thumb screws are really inexpensive and make it easy to remove the rear seat without needing a tool. Definitely worth the few bucks.
The battery is replaced and the bike is running. Since she has been setting for a bit I need to do a fluid change on her. I also need to get by the DMV (ugh) and get a plate for her, going to try to do that this week.


