
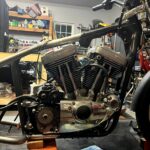


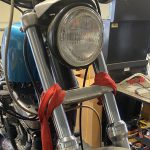

I installed the Vance & Hines Fuelpak FP3 Fuel Management System on my 2014 Harley Davidson Street Glide. I am planning to do some upgrades on the Street Glide and I need to be able to tune the bike’s fuel injection system after changing out components. I did a fair bit of research on different tuners and the FP3 looked to be simple but powerful and the features would more than meet my needs. I am not looking to tune the bike for the race track, just to make adjustments based on upgrades I make to the intake and exhaust to get a bit of a performance refresh.
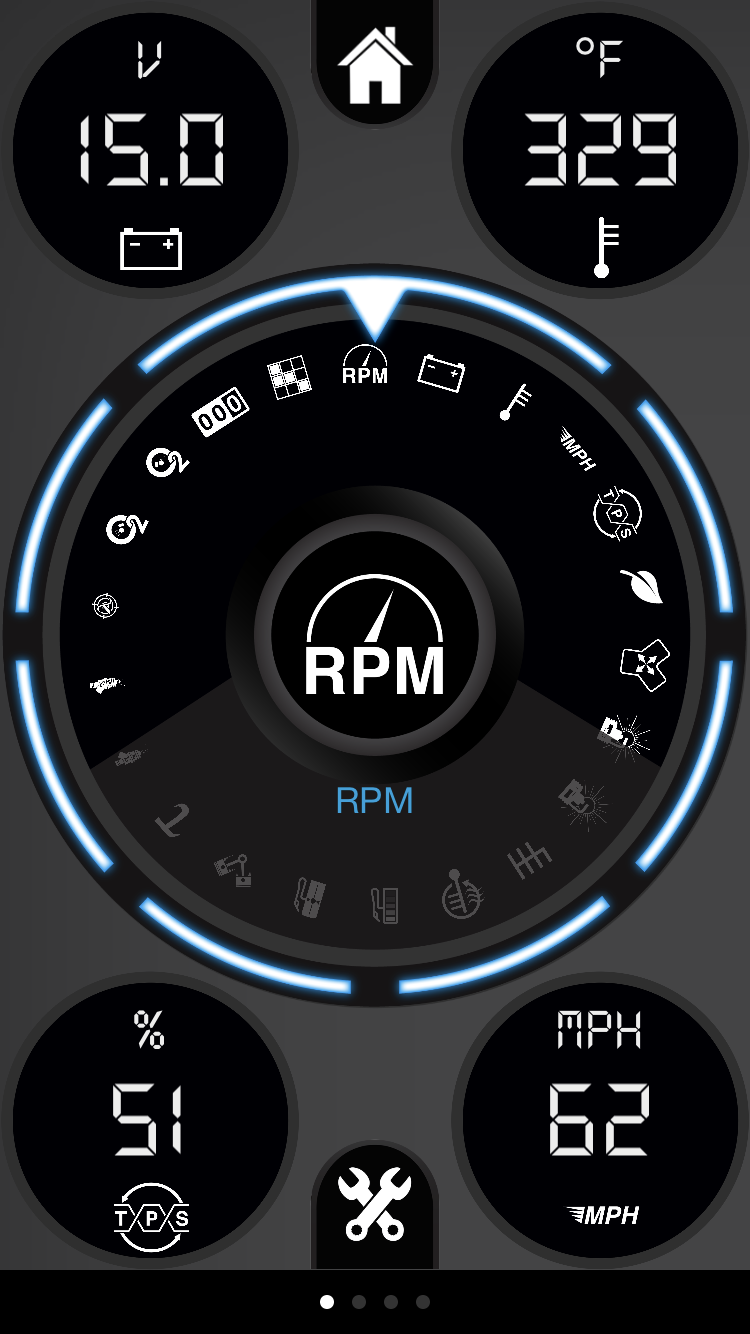
The Vance & Hines Fuelpak FP3 Fuel Management System plugs into the diagnostic port and allows you to program, or tune, the Engine Control Unit (ECU) on a fuel injected bike using your smartphone. One thing I really liked about the FP3 was the app’s demo mode which let me play around with the app prior to making the decision to buy. In the demo mode I was able to access the pre-configured maps and explore the other functions of the app. Below is a screenshot of the app showing the real time sensor data in demo mode:
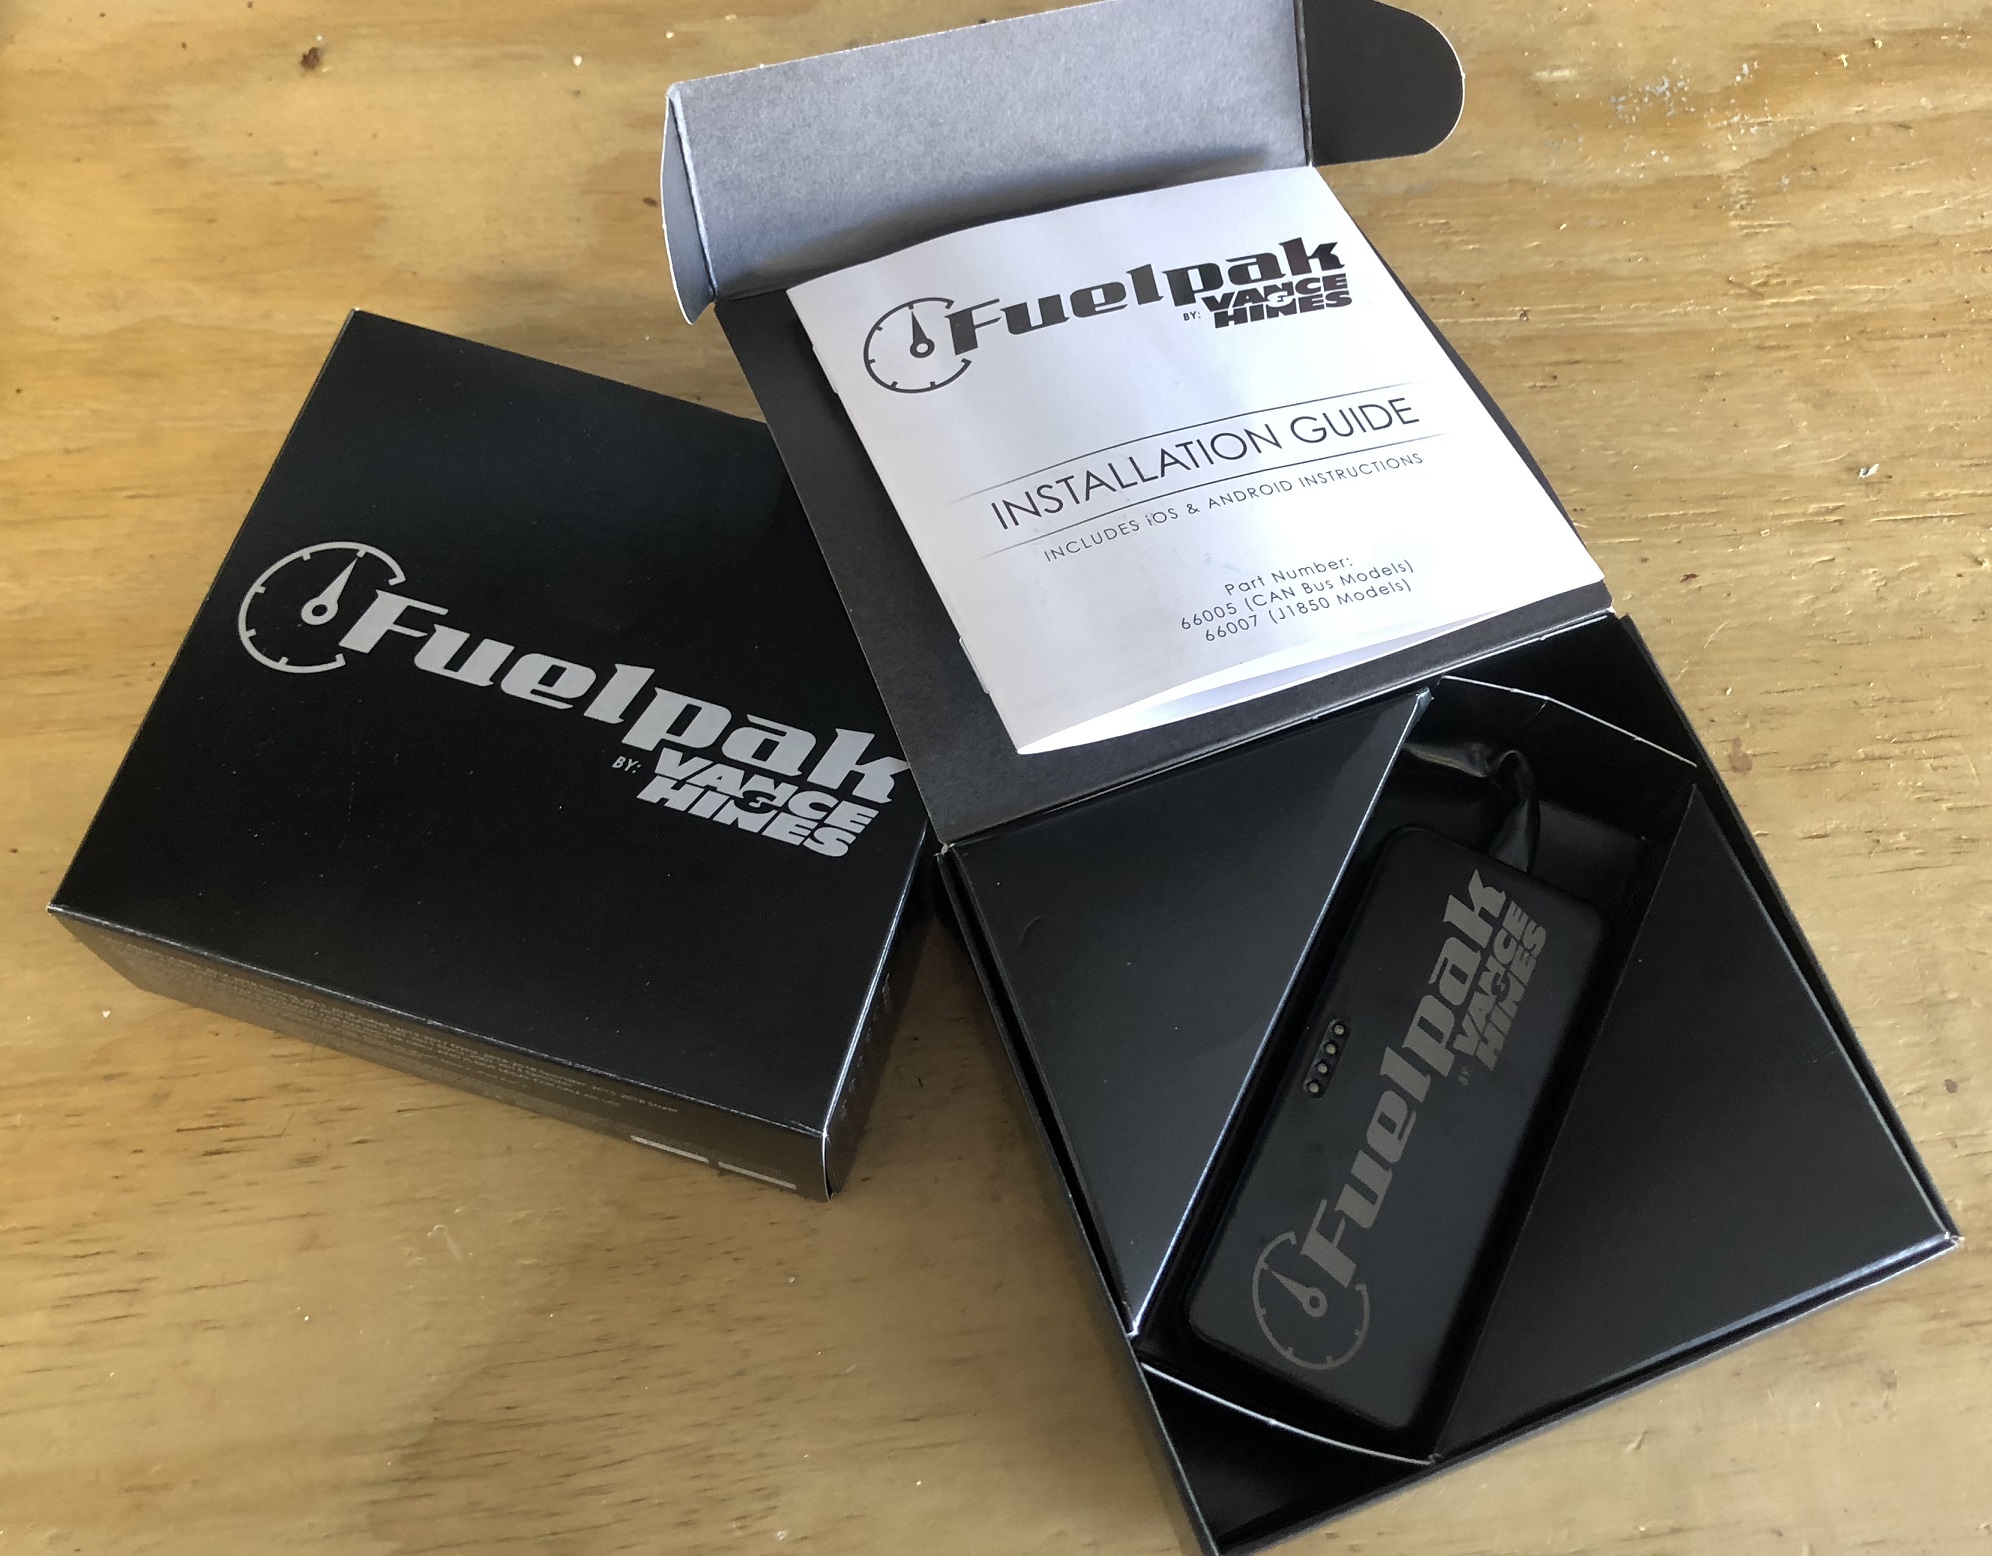
I wanted to install the FP3 before making any other changes to the Street Glide so I could get a baseline prior to upgrading the intake and exhaust. I contacted JP Cycles support just to validate that it would work for my bike. As always the JP Cycles’ tech was very helpful, answering all my questions. After the chat with support I ordered the Vance & Hines Fuelpak FP3 Fuel Management System from JP Cycles, it shipped quick, and arrived in just a couple days. The box contained the FP3 and the installation instructions.
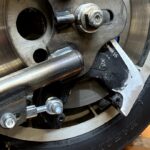
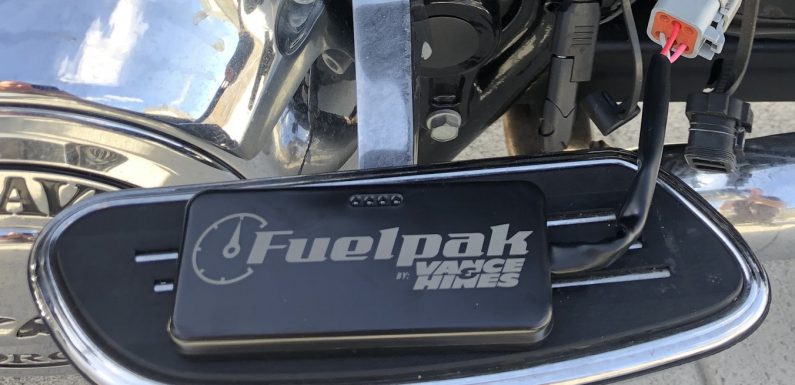
The installation instructions were simple and clear. The FP3 plugs into the bike’s diagnostic port or CAN bus port. On the 2014 Street Glide this is a 6-pin connector located under the side panel on the left side of the bike.
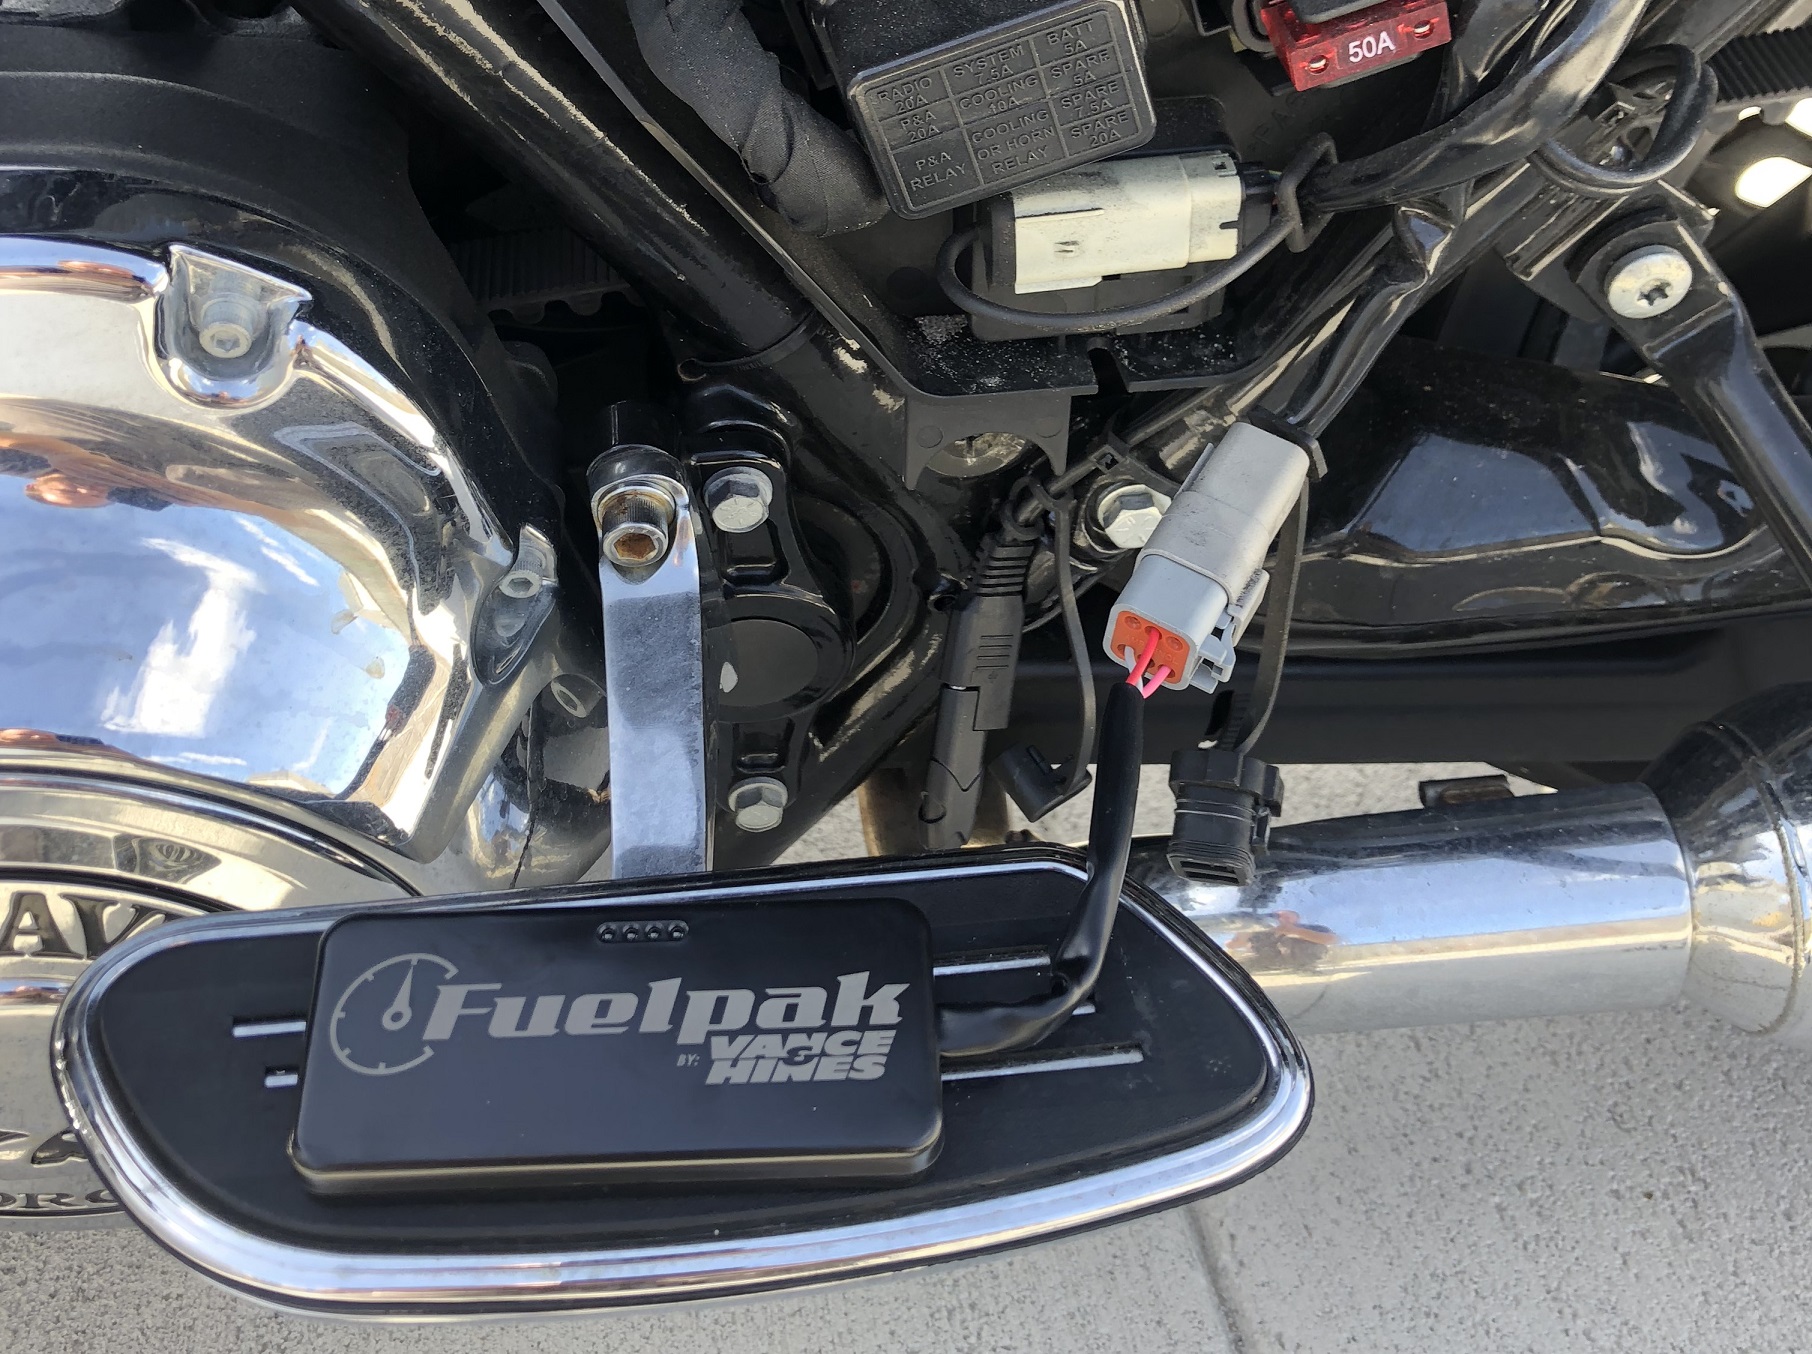
The FP3 was very easy to install and setup: Plug it into the CAN bus port, turn on the ignition (make sure the handle bar switch is in run, but don’t start the bike), connect to bluetooth on my phone, follow the prompts to install the firmware update, locate a pre-configured map based on the bike’s current setup (2014 Touring with stock exhaust and stock intake), and then flash the bike with a map. Took less than 20 minutes from connecting to flashing the first map.
There was room behind the panel to tuck the FP3 out of the way and I secured it using a wire tie.

Once you flash a map to the bike you do not have to leave the FP3 connected. One thing to note is once a map is flashed to the bike the FP3 is “married” to the VIN of that bike, it cannot be used to tune multiple bikes.
If you leave the FP3 attached to the bike it allows you to view real time sensor data on your smartphone. Things like engine speed, temperature, fuel economy, gear, torque, power, and a bunch of other data can displayed in real time on your phone. You can customize the dashboard to display the data which is most important to you. I set up a dashboard to show RPM, MPH, temperature, HP, and torque. Below is a screenshot of the dashboard from my iPhone.
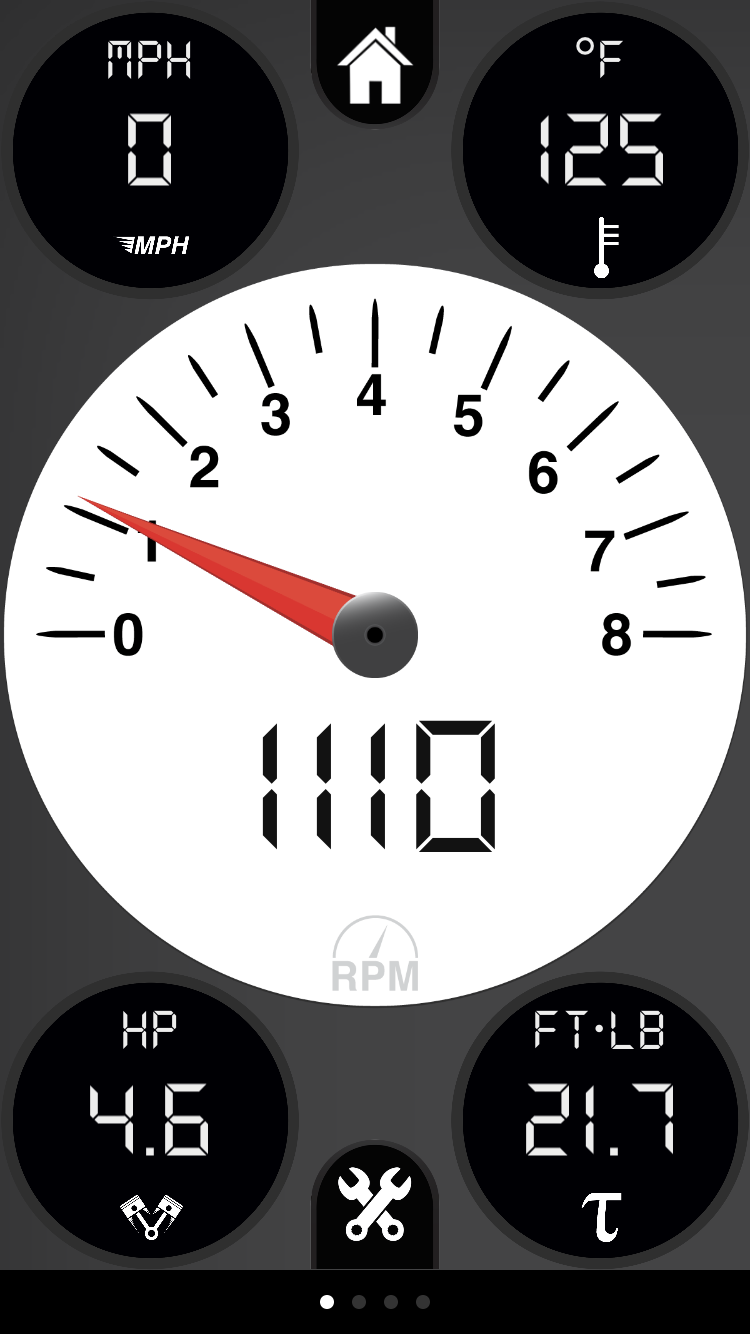
You can create four different custom dashboards, each displaying different real time sensor data, and cycle through them by swiping left or right. It would be cool if you could access historical data, like from the last ride. This would be helpful tracking changes/improvements based on tweaking that has been done. There may be a way to do this, but I have not found it yet.

Now to ride around a bit to try to capture some baseline information before I make any other changes.


