


The rolling chassis kit I ordered from American Classic Motors was delivered last week. Everything has been unpacked and checked out. I had some time over the weekend so I mounted tires on the rims. The front and rear wheels for the kit included the rim strip, tub, tire, and rim – I just have to put it all together, which is not something I have done before.
I watched a bunch of videos on changing motorcycle tires and tubes. I thought this one from Lowbrow Customs was a really good one.
Pretty much all you need to know to get this done. Couple of great tips in this video, like removing the valve core and airing up the tube prior to installing to get the folds out of the tube. Also airing it up a few times to set the bead was also a good call. There are a few good videos out there but this one is definitely worth a watch (IMHO) if you have not done this before.
I picked up a set of tire irons on Amazon. It’s a 3 piece set by Motion Pro and was under $25. The set included a 8 1/2″ tire iron, a 11″ tire iron, and a 16″ tire iron and worked great for this job.

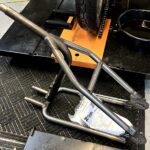
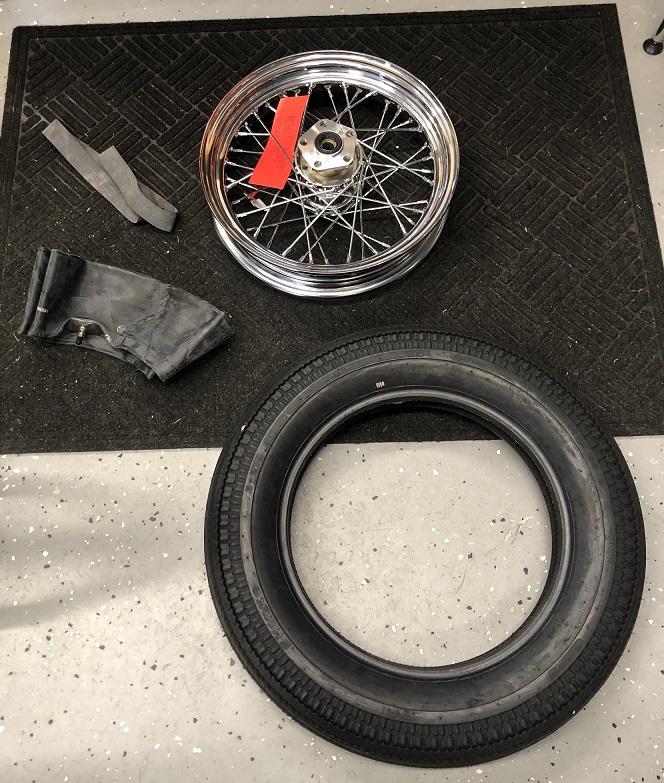
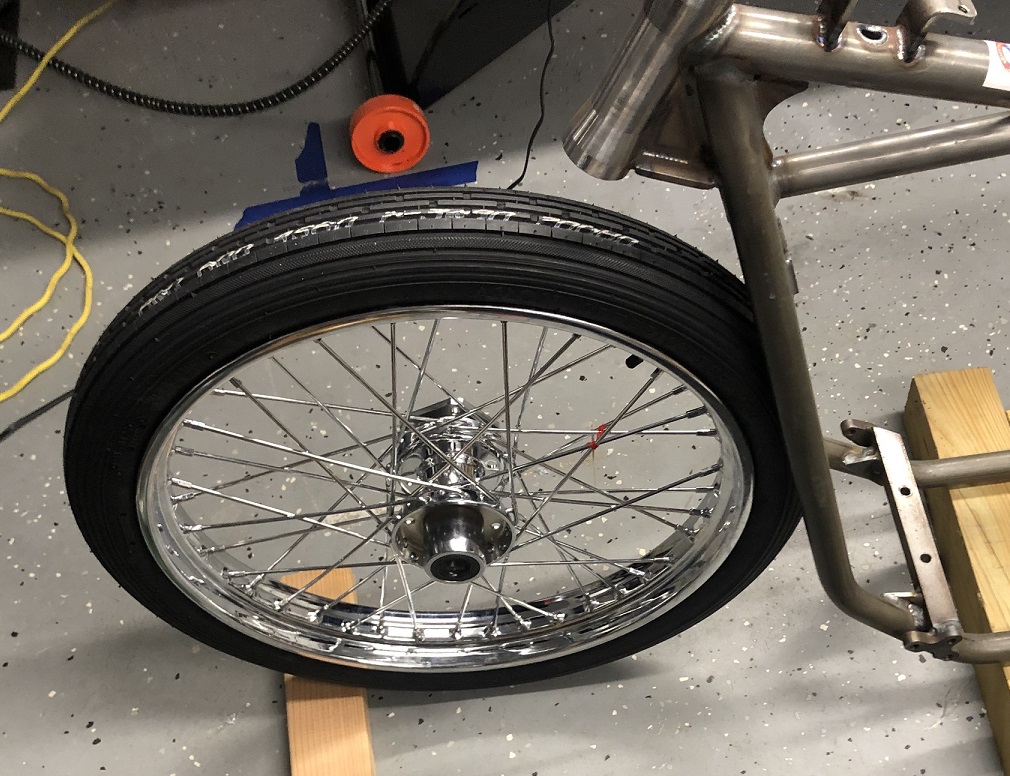
The roller kit included the rims, rim strips, tubes, and tires for both the front and rear. The front wheel is a 21″ spoked wheel and the rear wheel is a 16″ spoked wheel. The picture below is the rear wheel rim strip, tube, spoked rim, and tire.
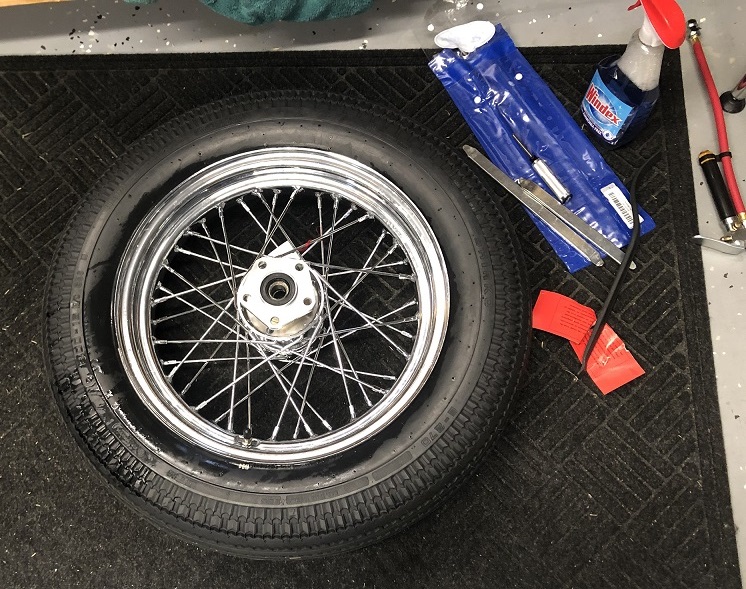
I used Windex to lubricate the tire. It took a couple of tries, a little blood and sweat, and a whole lot of bad words, but I got the rear tire on the rim, the tube in, and aired up. Took two tries – first time without heating the tire up, I was not able to get the tire on the rim. I heated the tire up for the second try and it was much easier. The bead set and it holds air – winning.
I thought I had taken a few pictures of the process. I was really focused on getting the tire mounted without screwing things up and I didn’t take any (I thought about it, I just didn’t act on it). Anyway my experience was pretty much the same as in the Lowbrow Customs How to Change a Motorcycle Tire By Yourself video.
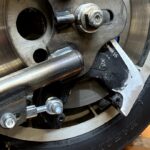
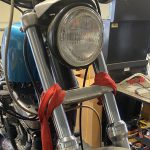
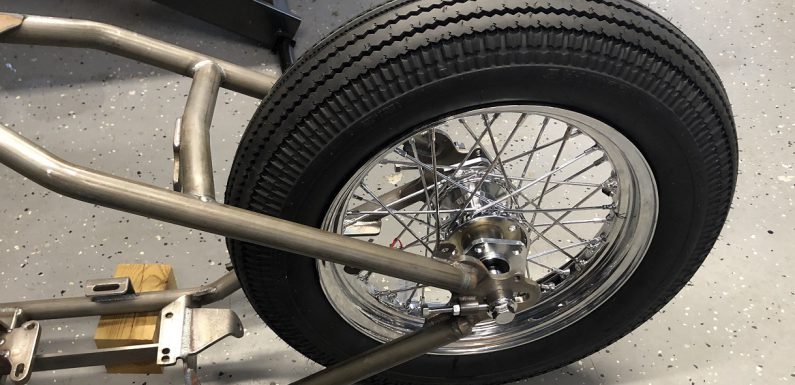
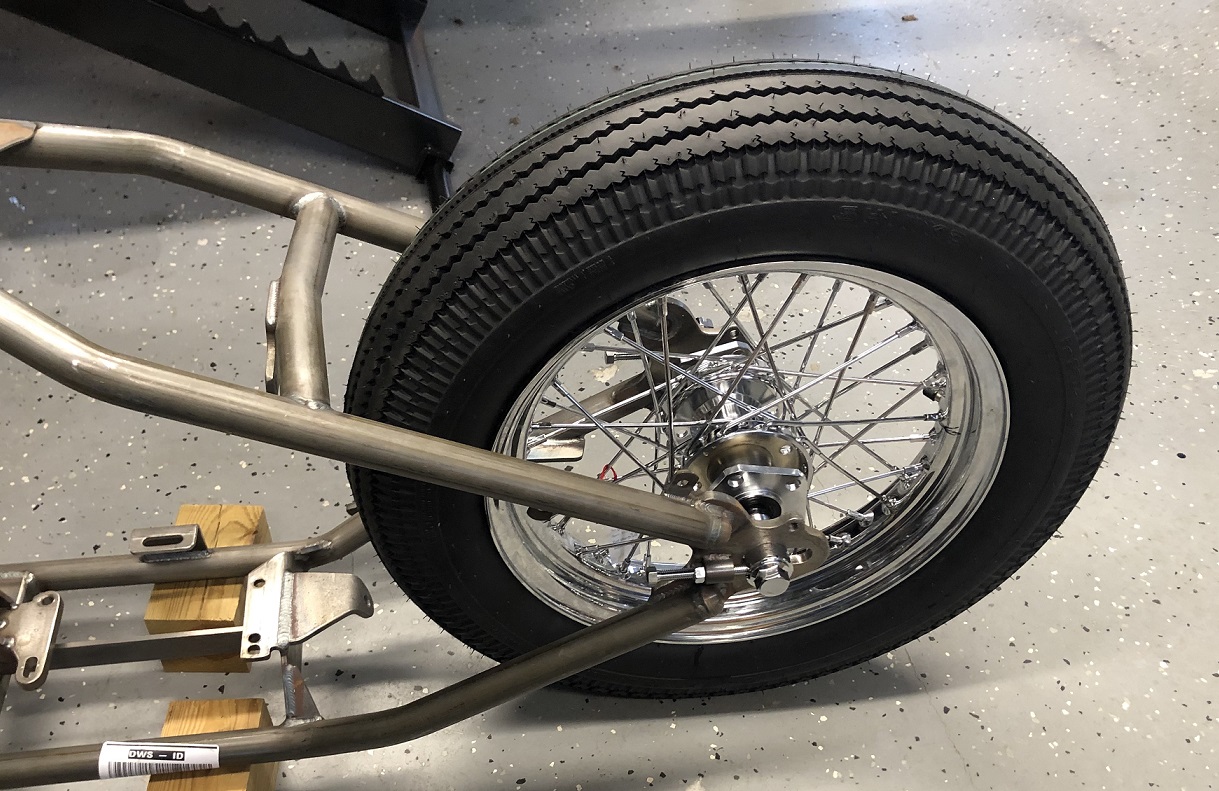
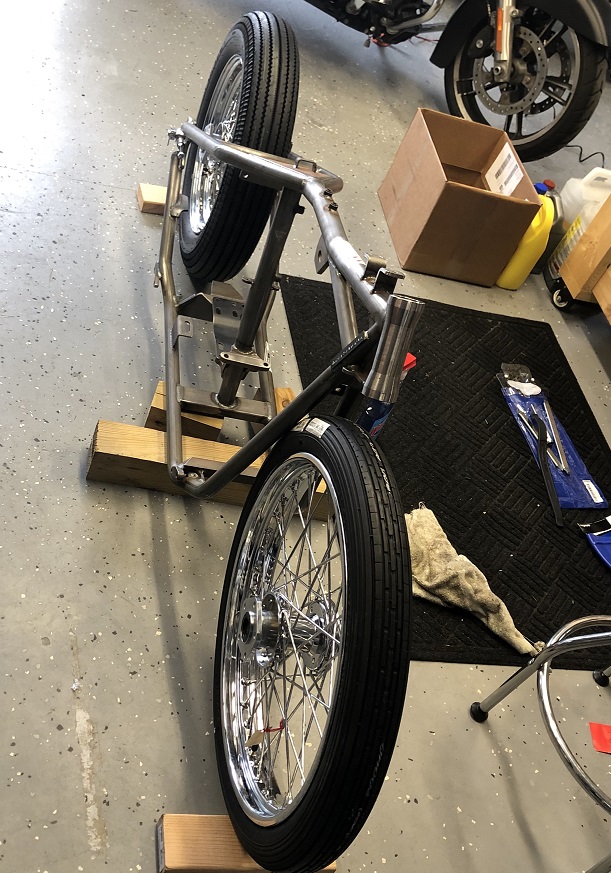
Here’s the 16″ rear wheel mocked up with the axle on the frame.
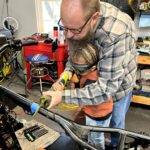
I used a hair dryer to heat up the tires a little before installing. I skipped this step on my first attempt at mounting the rear tire on the rim. Heating the tire up made mounting much easier. Definitely worth taking a few minutes to do. I just set the hair dryer on high, put it in the tire, and rotated the tire to re-position the hair dryer about every 3 or 4 minutes. Heated it up till the tire was warm to the touch.
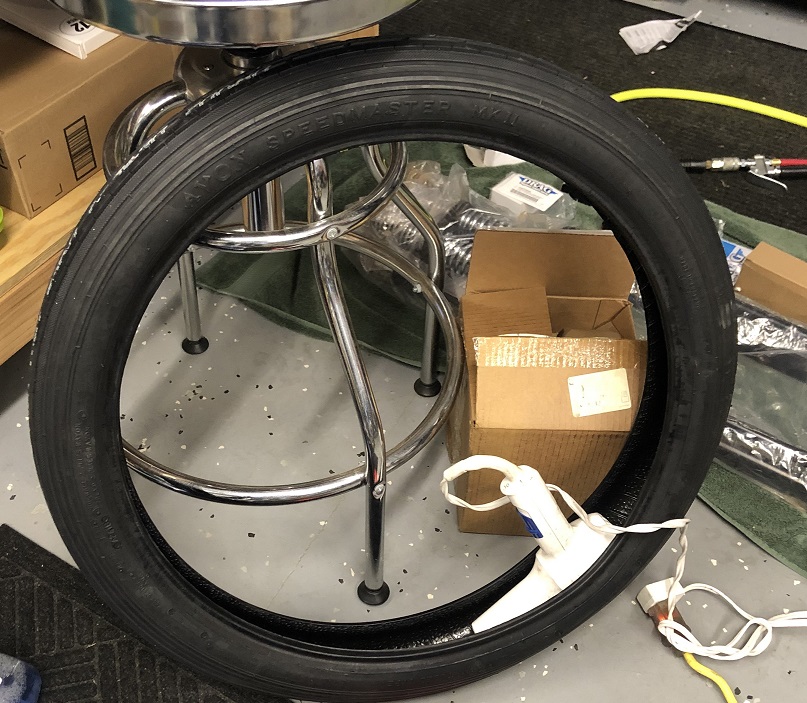
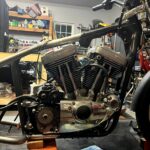
The front wheel was actually a lot easier to mount than the rear. Guessing that is just due to the size of the tire. Below is a picture of the 21″ front wheel sitting up against the frame (will be awhile before I’ll be ready to put the front forks on).
Here’s where things are right now.
Pretty stoked since this is something I have not done before. The wheels still need to be balanced. Have not decided whether I am going to buy a balancing stand or take it to a shop. A balancing stand would pay for itself in couple of tire changes so I might go that route.
Next thing I’ll probably do is order the rear fender and supports so I can get the frame all mocked up to figure out what tabs will need to be removed or added. Also going to start searching for a rear brake support so I can get the rear wheel spacers right.
Good times, a lot of learning and a little progress.


