


Recently Sandy and I took a road trip to Mississippi. We spent 5 days on the road traveling through the southern states, covered about 2000 miles, and had a great time. Before we left I read a couple of forum posts about folks loosing a saddlebag due to a catastrophic failure of the original HD saddlebag mounting hardware. I knew this had been an issue for some, but I had pretty much ignored it. Reading these post just before leaving for our road trip gave me a bit of anxiety. I checked the mounts at every gas stop and was pretty hyperaware that I could see a saddlebag bouncing down the street in my rearview mirror. No issues on our ride, but when we got home… I fixed it.
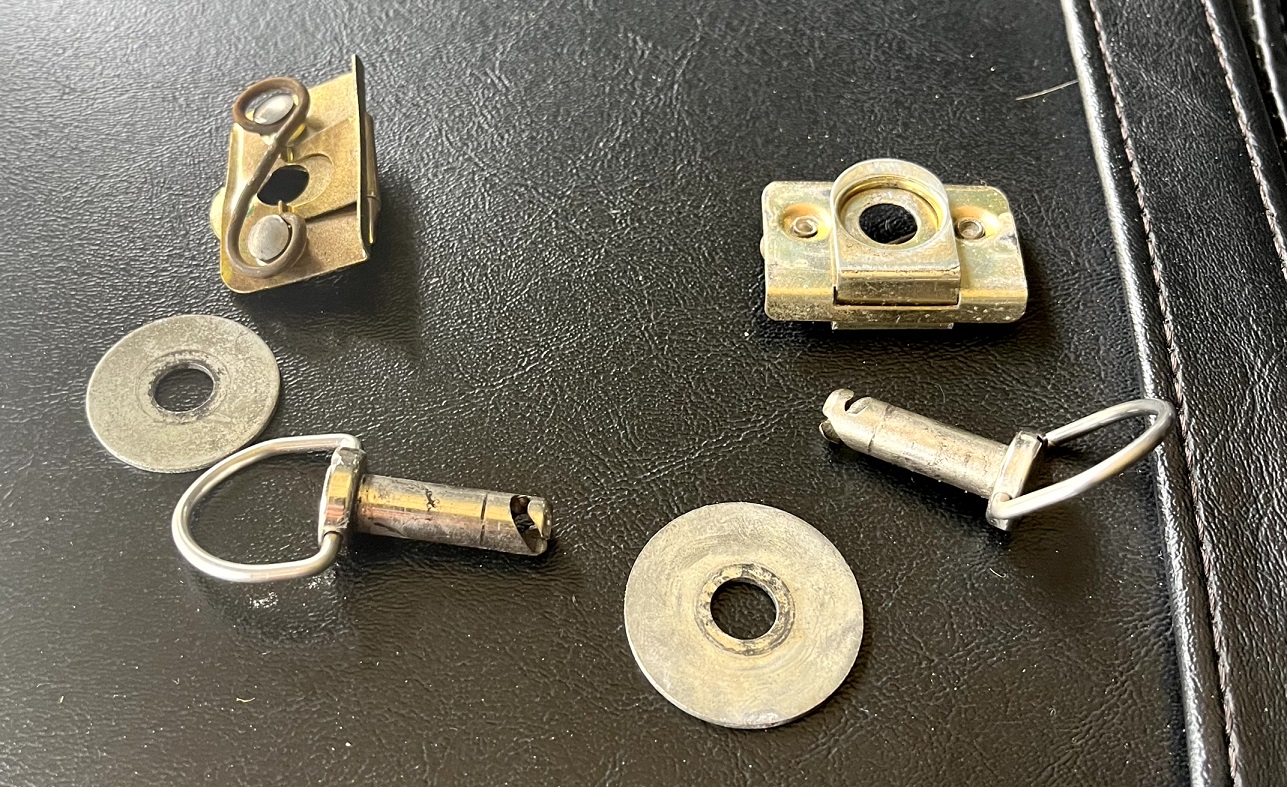
The original mounting hardware is a spring on a clip which secures a pin through the saddlebag. This mounting hardware is found on most 2015 and earlier Harley Davidson Touring models (I think) and was recalled by Harley Davidson back in 2015.
I probably could have had this fixed for free at a HD dealership, but that would be a hassle (have to talk to a people, make a service appointment, leave the bike for a day for a 10 minute fix, etc). Not sure why I never had it fixed before, but it is fixed now and here’s how…
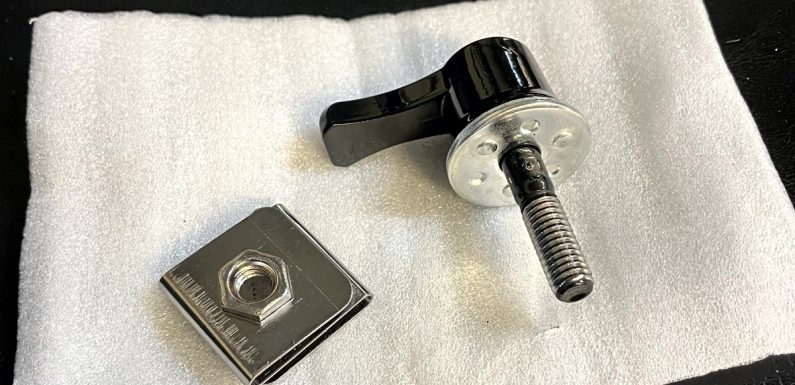
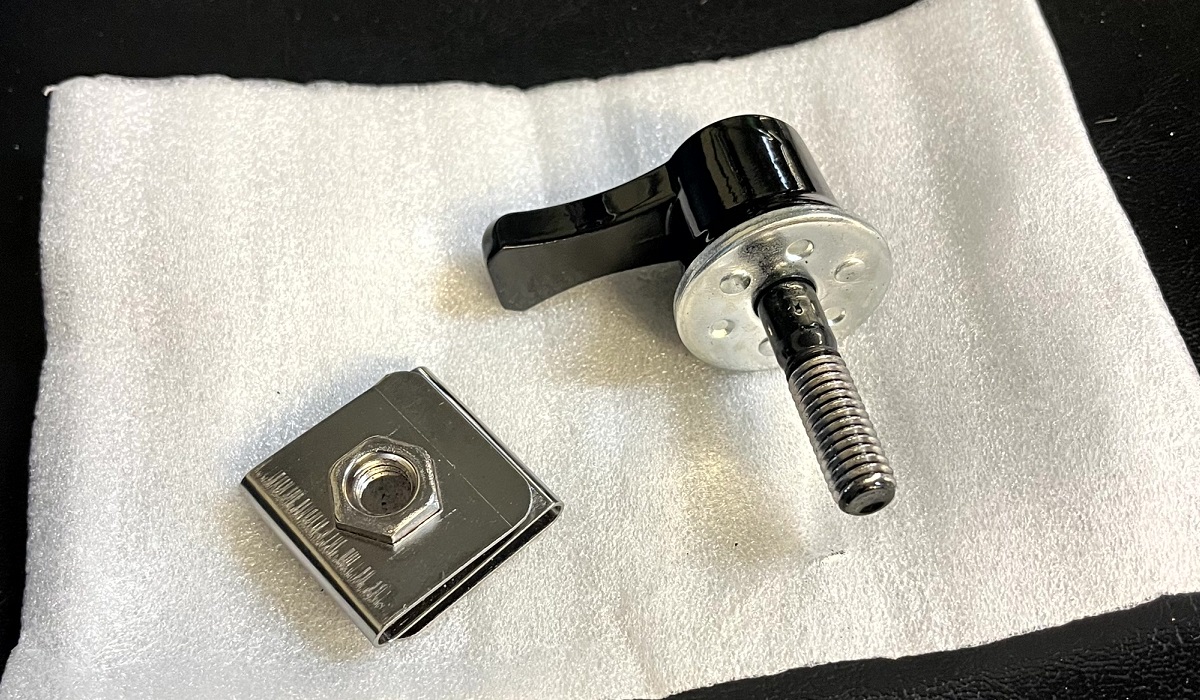
I picked up this Saddlebag Mounting Hardware kit on Amazon. The saddlebag hardware is available in chrome or black, I went with the black.
This hardware kit updates the spring style mounting hardware to a design which is considerably more secure. The Saddlebag Mounting Hardware kit is similar to, if not the same as, the mounts which is used on 2016 and newer Touring models.

There are a lot of different options for replacement available on Amazon, most of them are between $30 and $35 or so. I chose this Saddlebag Mounting Hardware kit because, well I am not really sure why… maybe the reviews? Not sure but this Saddlebag Mounting Hardware kit is solid, the quality seems good, and the black finish is nice. The kit includes what is needed to replace the hardware for both saddlebags.
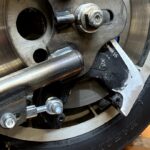
Installation is very easy. First remove the saddlebags and the spring clips. Then install the new clips which came with the kit.
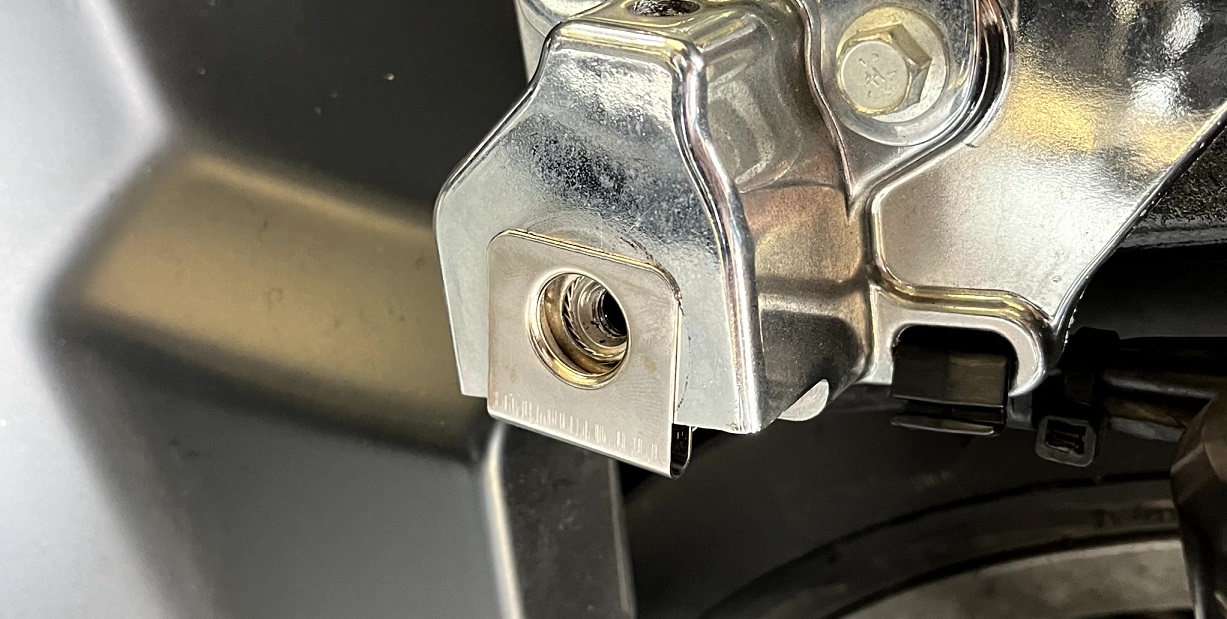
Finally reinstall the saddlebags and tighten the fasteners. It took less than 10 minutes to remove the old, replace with the new, and reinstall the saddlebags on both sides.
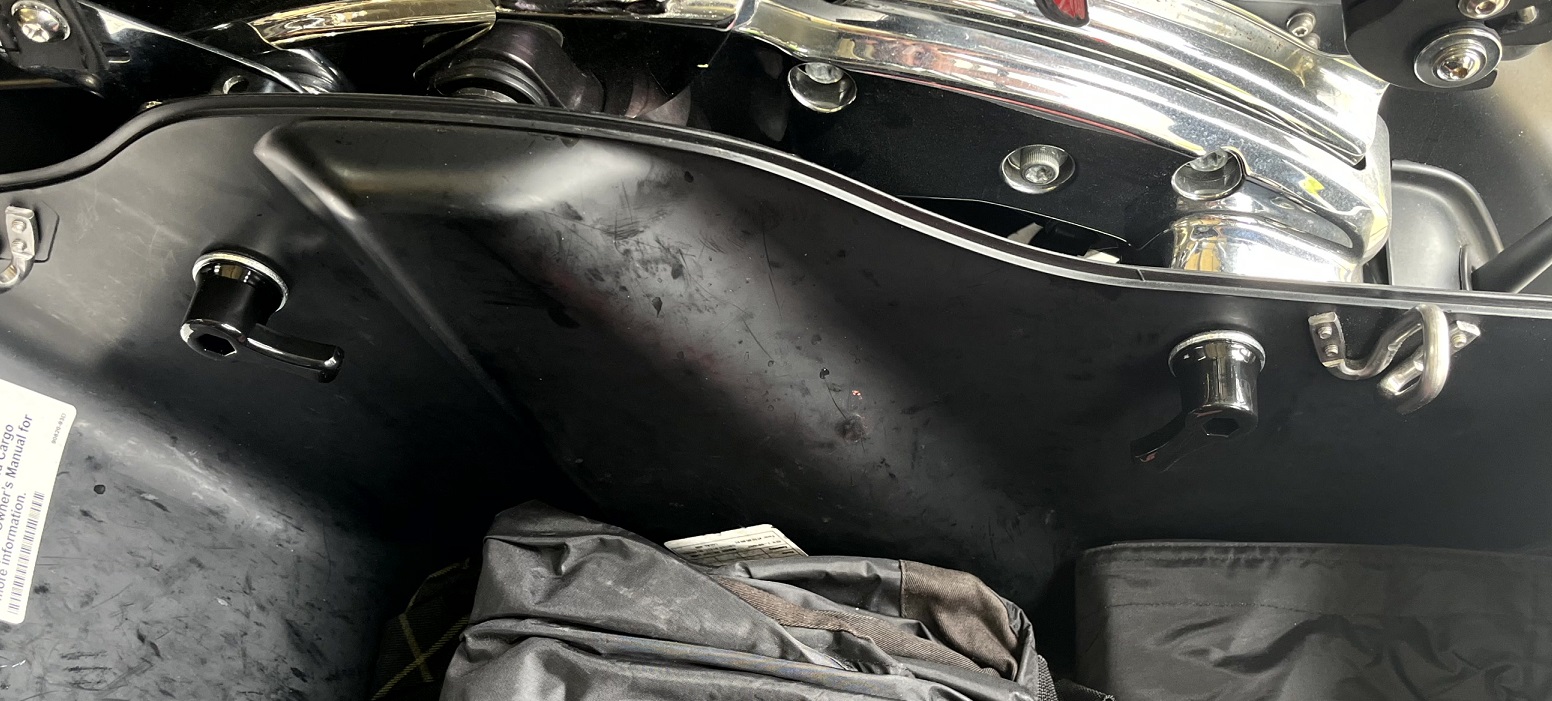
Removing the saddlebags is still toolless, the mounts just unscrew by hand. The updated hardware does intrude into the saddlebag a bit, but it should not really cause too much issue.
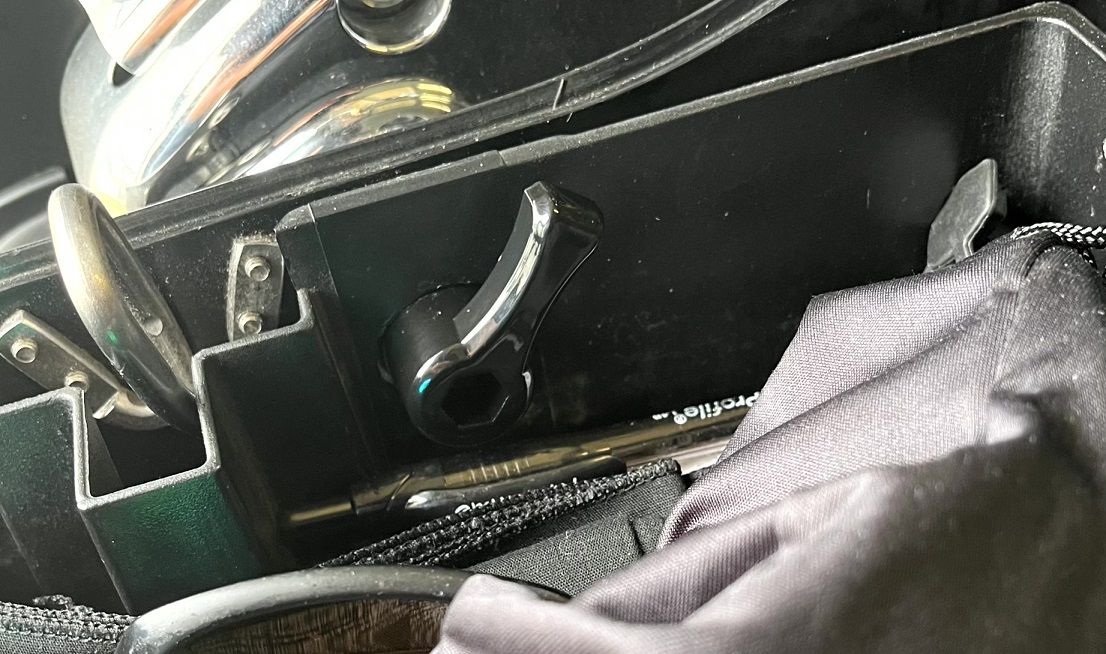
I was still able to mount my organizer tray by hooking it over the hardware… it is not screwed down in the tray, instead the tray is hanging on the hardware… Only time will tell if this will be an issue, but it looks like it should be fine.
The new mounting hardware definitely seems much more secure than the previous hardware. The bolts would have to back out a good long way before they let loose, not just a half turn like the original hardware. Should have done this ages ago, but it is done now… one less thing to worry about when going down the road.
Check your ride. If you still have the spring clip fasteners on yours, pick up one of these Saddlebag Mounting Hardware Kits and get it fixed before you are posting on a forum about being on a nice Sunday ride where you watched your saddlebag tumble down the road 🙂 It’s an easy fix, just do it.
Build. Tinker. Ride.


