


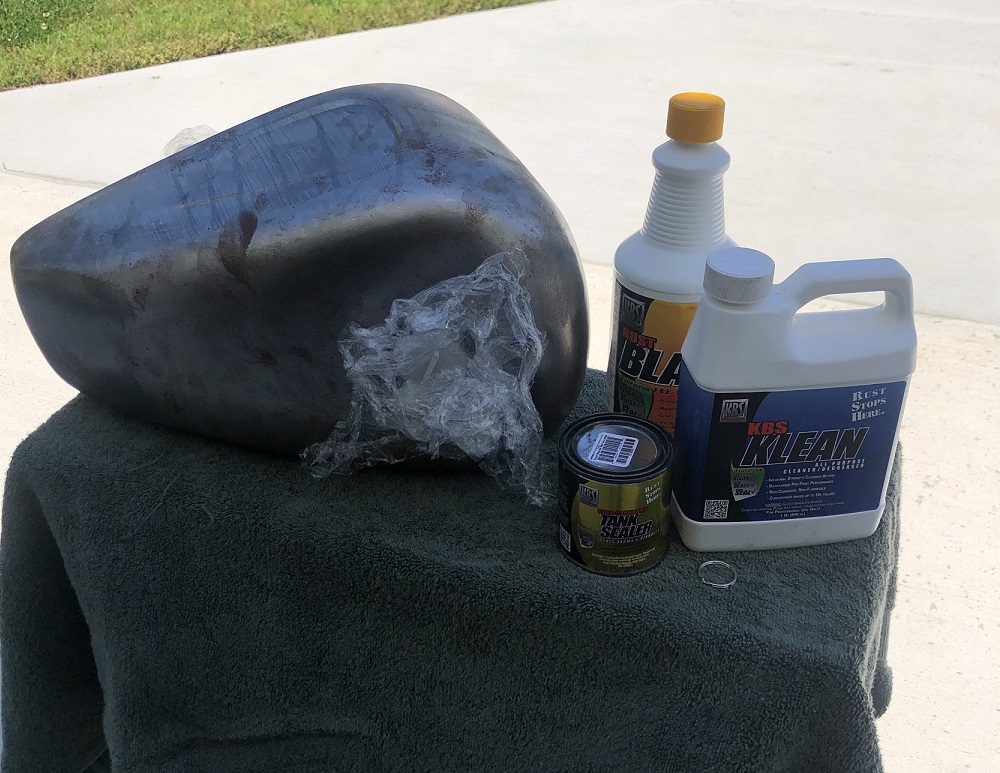
Sealed the tank for the 1992 Evo Project this weekend so it’ll be ready to paint next weekend. The sealer helps protect the inside of the tank from rusting and seals up any pinholes there may be in the weld seams.
When I put new tanks on the Heritage a bunch of years ago I paid someone to do this. I think it cost me $150 or so back then for the 6-gallon split tanks. Not sure what product they used but I used the KBS Coatings Sealer Kit to seal the 1992 Evo Project’s gas tank.
The kit has everything you need to clean and seal up to a 5 gallon tank.

The KBS Coatings Sealer Kit process is 3 steps:
- First clean the inside of the tank with the KBS Klean Degreaser. The KBS Clean is diluted 1:1 with hot water when added to the tank – 1 Quart of KBS Clean to 1 Quart of hot water. Seal up the holes and then let it soak. Rotating the tank every 5 minutes or so. The tank is new and was not that dirty on the inside, only some surface rust. I let it soak for an hour. Then rinsed the tank out with clean water and let it dry.
- The second step is the Rust Blast. This etches the inside of the tank. No dilution here, just empty the entire Rust Blast bottle into the tank and let it soak. Rotate the tank every 5 minutes to make sure all sides stay wet. I let this soak for about 45 minutes, then emptied the Rust Blast into a bucket, rinsed the tank with water, and let it dry.
- Finally the Tank Sealer. Make sure the tank is good and dry. Stir the sealer good and empty the entire can into the tank. I kept the tank moving constantly while the Tank Sealer was in. After 30 minutes I emptied out the excess tank sealer.
Steps one and two are pretty simple. If you are doing this to a tank that is already painted, don’t get any of the Rust Blast on the paint, it has an acid in it and it will eat off the paint (this is why I wanted to do this prior to painting the tank).
Step 3… well the tank sealer is messy. If it gets anywhere you don’t want it, clean it up fast. It starts to cure almost immediately getting very sticky fast. Make sure to clean it off the threads of the petcock.
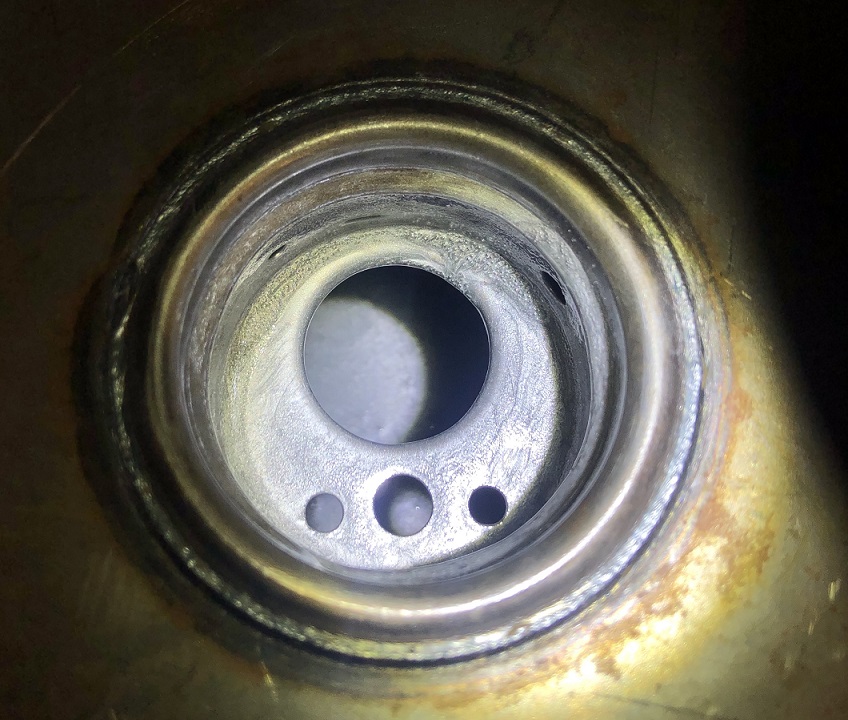
Other than that it was a pretty simple process and looks like it did the job. I tried to get a picture of the inside of the tank with the sealer.
Per the instructions, it takes 96 hours or more for the sealer to completely cure. Once that is done I’ll fill it with water to make sure there are no leaks, then it’ll be ready to paint. I should be on track to get it painted over the Memorial Day weekend.
Here is a video from KBS Coatings which covers the three step process:


