
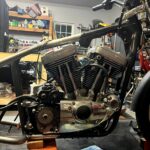


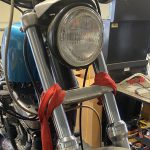


The Honda Shadow has about 45k miles on it. Since I have had the carburetors in and out of it a bunch of times I figured it would probably be worth checking, and adjusting if needed, the synchronization of the carburetors.
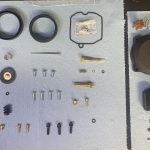
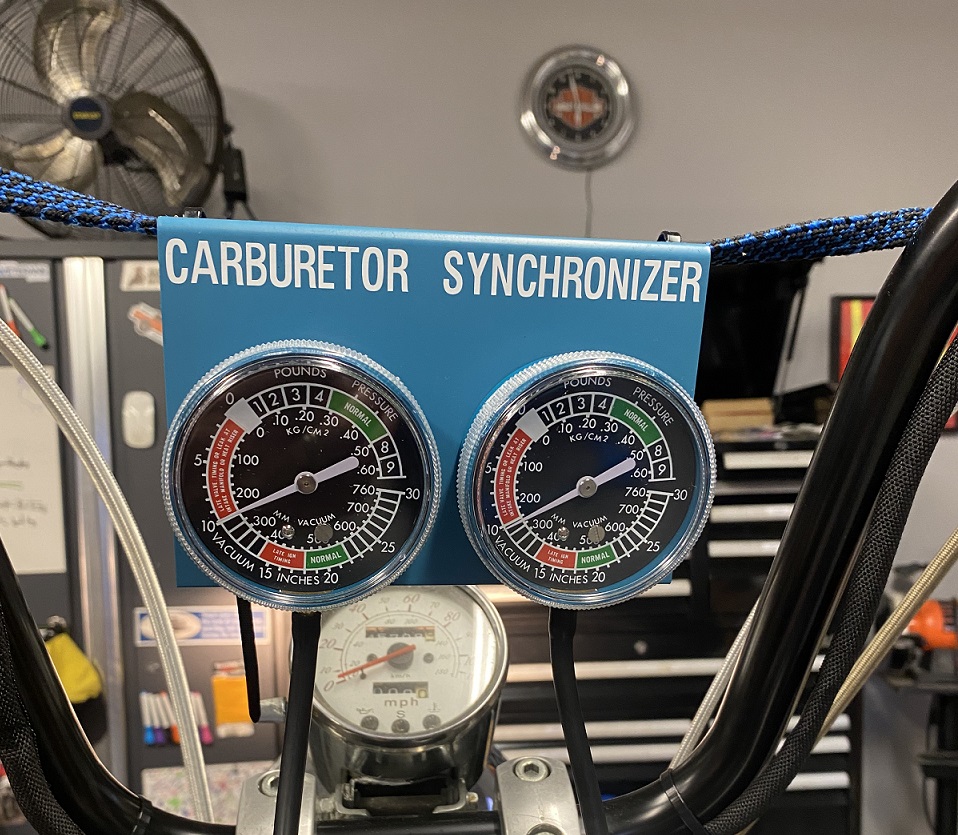
Syncing the carbs requires a set of vacuum gauges, one gauge for each carb. This is the kit I have:
This dual carburetor synchronization kit is inexpensive but it gets the job done.

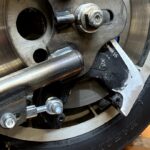
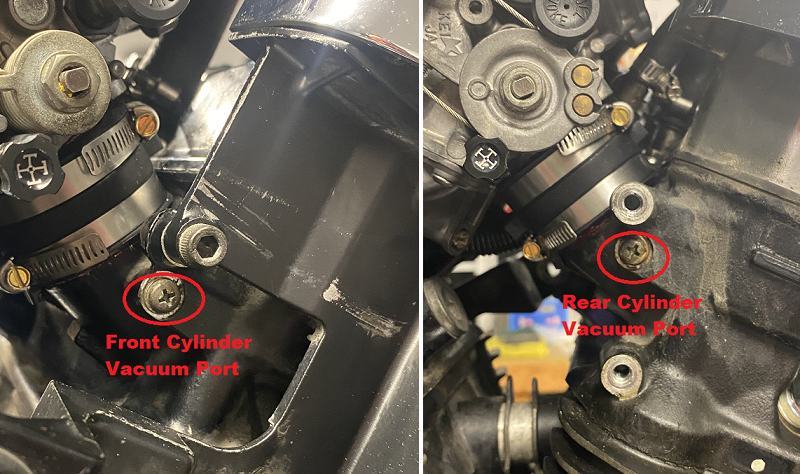
The process for synchronizing the carburetors is pretty straight forward. Start the bike and warm it up. Once the bike is warmed up, shut it down. On the 1999 VT750 Honda Shadow the screws plugging the vacuum ports are located on each side of the heads near the intake boots. The front cylinder screw is on the right side of the front cylinder, it is easy to access. To get at the vacuum port screw on rear cylinder it is on the left side of the rear cylinder under the fin cover, just remove the cover to access it.
Remove the screws from the vacuum ports and thread the brass tubes from the caburetor synchronization kit into the vacuum ports, this provides you with a place to attach the hoses to the vacuum gauges. Connect up the vacuum gauges to each of the ports and start the bike.
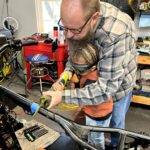
Adjusting the synchronization is done by turning a screw between the two carbs which can be accessed through a hole in the top of the frame.
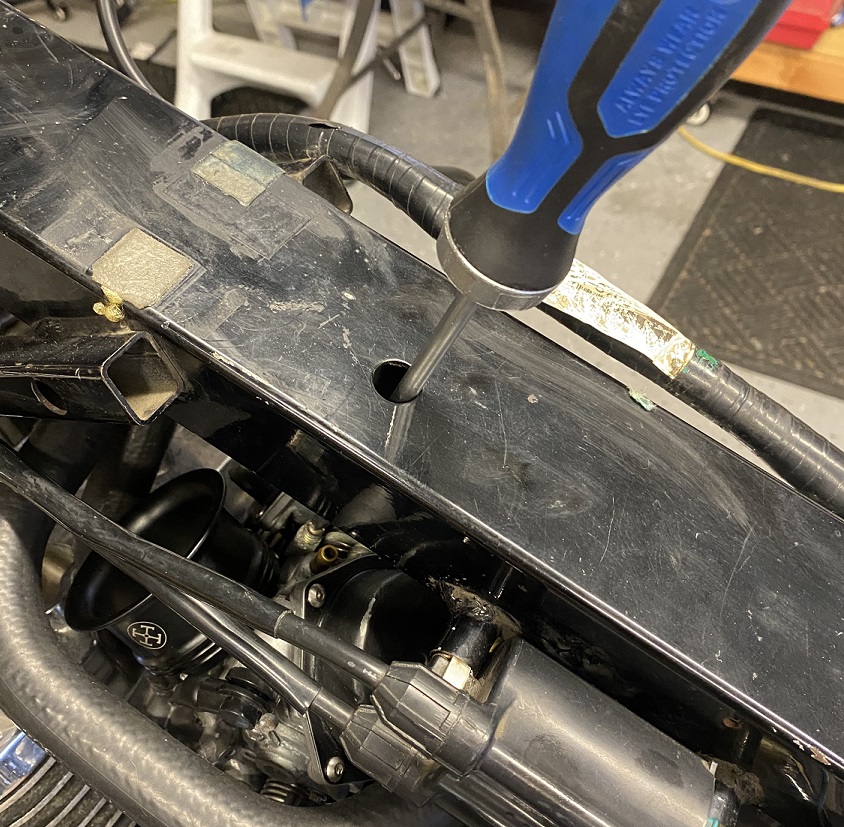
Make small adjustments, remove the screw driver after each adjustment, until both vacuum gauges read the same.
This old Shadow’s dual carburetors are synchronized (they were pretty close anyway – in spec according to the service manual, but now they are dead on). Shut off the motor, remove the brass tubes, and reinstall the vacuum port screws. Reinstall the rear cylinder finned cover.
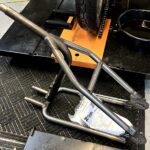
Now to start putting her back together to get her on the road.


