
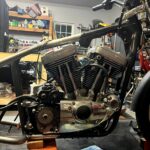


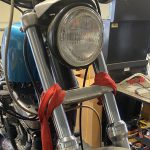

The tanks on my 1992 Heritage are in pretty rough shape, a lot of rust on the inside and the outside could use a paint job. I decided to pick up a new set of 5 gallon tanks, get them sealed and painted, get them on the Heritage, and then restore the tanks that are currently on the Heritage to use on another project. I got the tanks last week and worked on getting them sealed over the weekend.
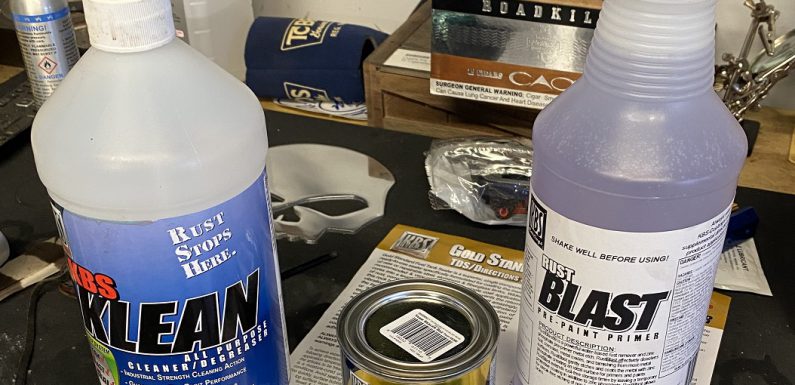
I picked up a KBS Gold Standard Tank Sealer Kit from Amazon. I have used both the KBS Kit and the Kreem kit in the past on different projects. I actually prefer the Kreem kit but I could not find it available anywhere. Nothing wrong with the KBS Gold Standard Tank Sealer Kit the sealer in the Kreem kit just seemed a little more user friendly. Both kits do a great job and the process is pretty much the same.
The KBS Tank Sealer Kit comes with what you need to prepare and seal a gas tank: the KBS Klean cleaner and degreaser, the KBS Rust Blast to etch and prepare the tank for the sealer, and the KBS Gold Standard Tank Sealer.

The kit linked below has what is needed to seal up to a 5-gallon gas tank:
Sealing the tanks is a pretty simple process, but you have to take your time. I did one tank at a time. First I cleaned the tank out with just plain garden hose water, basically to get anything loose out. The split tanks are a pain in the ass to drain.

After flushing them out I sealed up all the holes and I mixed the KB Cleaner/Degreaser 1:1 with HOT water and put it in the tank. Since these tanks are new there was not much rust or gunk inside them I swished the KBS clean in there for about an hour then emptied it, rinsed it well with water, and left it to dry, then repeated the process with the next tank.
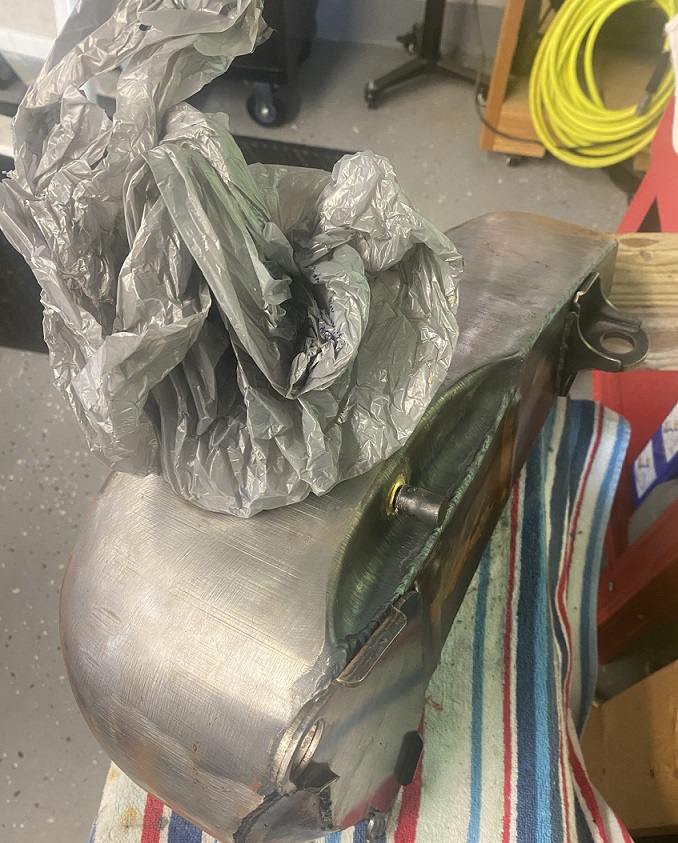
After the tanks were completely dry (overnight) I used the rust blast, again one tank at a time. This stuff etches the tank and will etch anything it gets on make sure all the holes in the tank are sealed good. I used a plastic bag around the gas cap to seal up the top. I left the rust blast in the tank for about an hour, rotating the tank around every couple few minutes. Drained the rust blast into a container to use for the next tank, rinsed the tank with water, then set it aside to completely dry. Repeated this process for the other tank.
After letting the tanks dry overnight I was ready for the sealer. Make sure the tank is completely dry!!! The KBS Tank Sealer kit comes with an 8 oz can of tank sealer and it takes a little less than half the can to get a good coat on one of the split side tanks, so one can was more than enough for the 5 gallon flat side tanks. Since the flat side tanks are so hard to drain make sure you do not use too much of the sealer – there only needs to be a thin coating of the interior surface of the tank.
Mix the sealer per the instructions. I put about half the sealer in the first tank and rotated it slowly and constantly for 30 minutes. Then I drained off any excess sealer out of the cross over fitting. Then I continued to rotate the tank slowly for about another 30 minutes. I used the brush that came with the kit to make sure the cap bungs were coated with the sealer as well. I checked again for any excess sealer and drained it off through the cross over fitting. Make sure all the holes are clear before the sealer dries. For the next hour I rotated the tank into different positions every 10 minutes or so, checked all the holes to make sure none were blocked by the sealer, set it aside to cure. Repeated this process on the second tank.
Both tanks are sealed but it takes about a week for them to full cure, now I have to get them ready to paint…
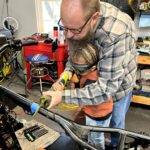
I had some “help” in the garage this weekend. She is ready to take one out for a spin 🙂