


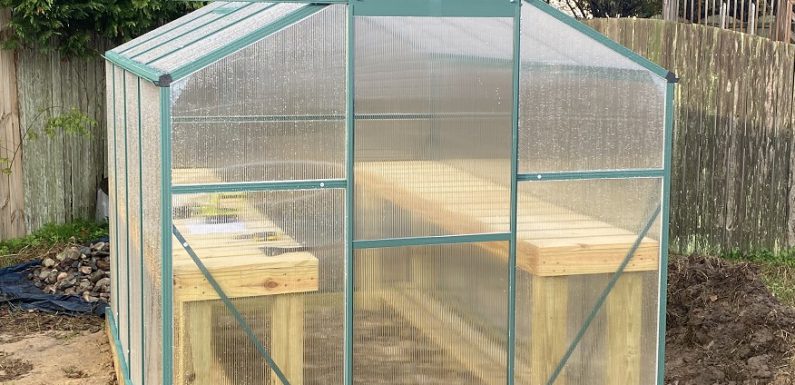
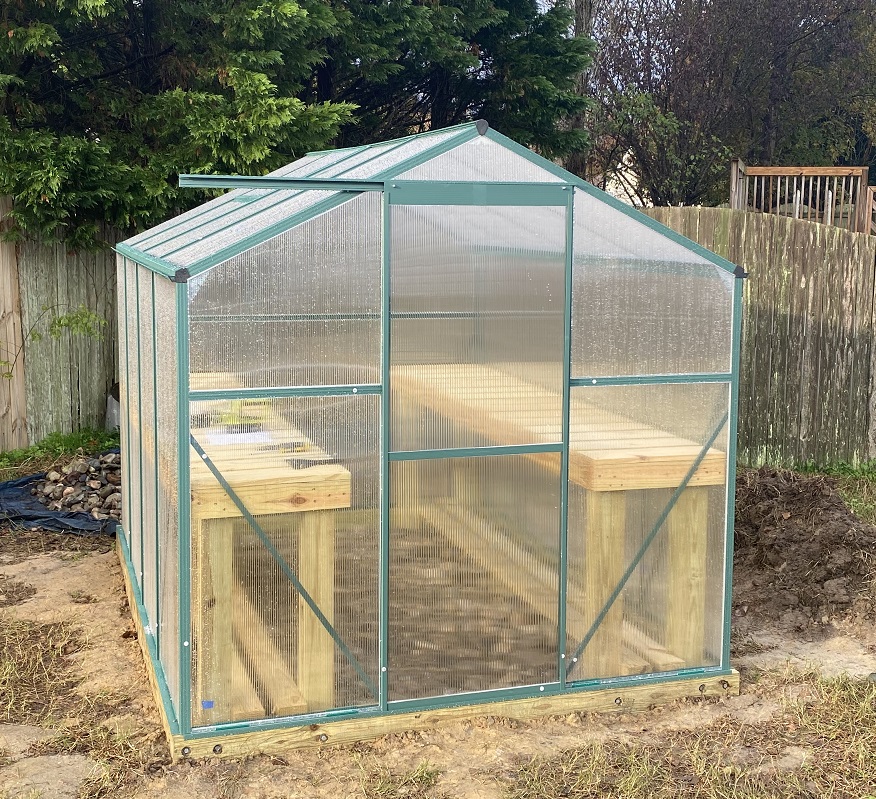
Hope everyone had a great Thanksgiving! Over the last few weekends I have been building a 8’x6′ greenhouse in my backyard. There are a lot of inexpensive greenhouse kits available, the reviews on these range from “Great Greenhouse” to “Complete Junk”. After a bit of searching around and reading reviews I decided, despite some negative reviews, to give the U-MAX Greenhouse kit a try. My review summary is… it’s pretty neat for the price and I like it.
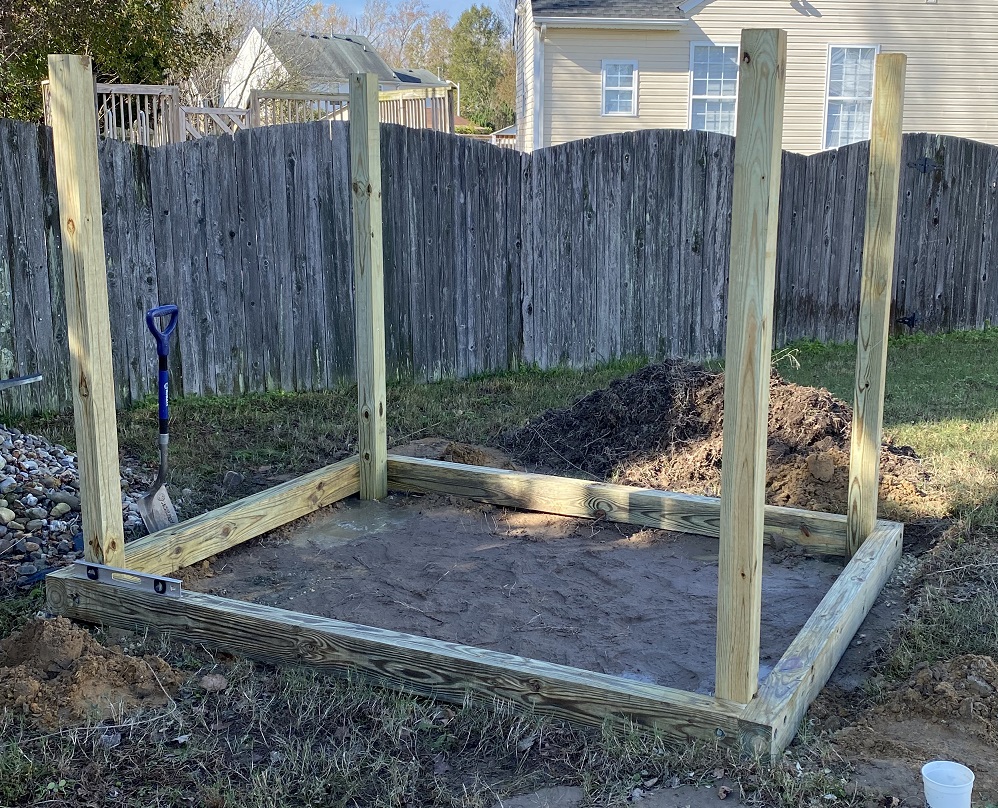
For the build I started out by clearing a spot in the backyard. The area I picked gets plenty of morning to mid-day sun and then some shade in the afternoon. It is also shielded fairly well from the wind. Cleared and leveled the area and set 4x6s for the foundation. The 4×4 uprights are cemented in the ground and I used lag screws to connect them to the 4x6s making sure the foundation is square and level. The 4x4s anchor the foundation to the ground and will also become the outside legs of my worktables in the greenhouse.
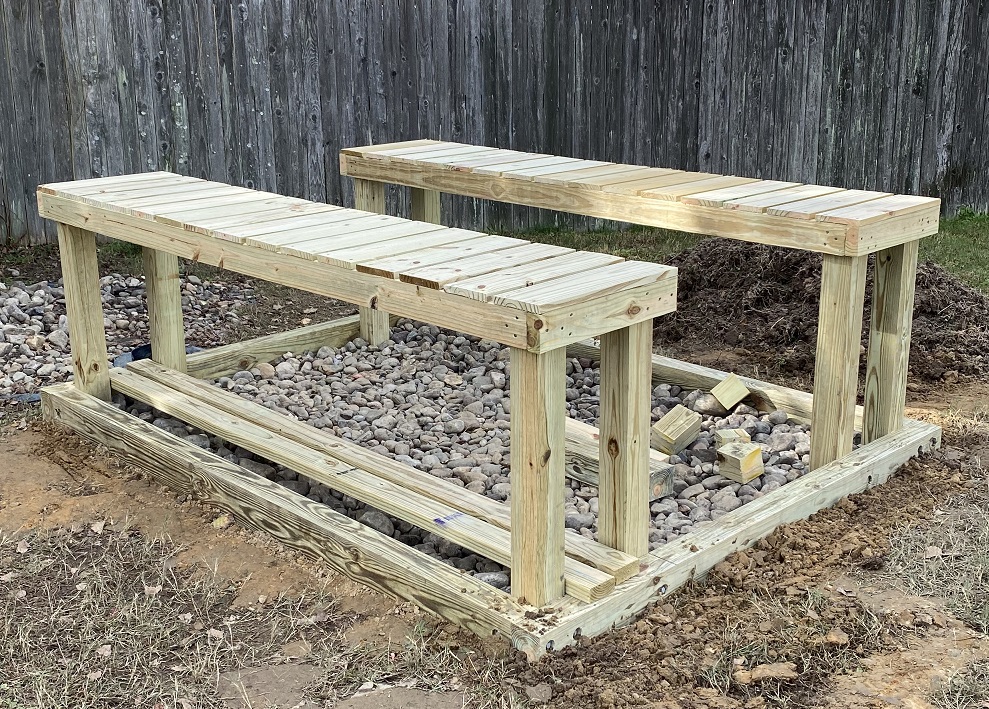
I had a bunch of rock from where we pulled up some old landscaping from around the pool which has been sitting in a pile for a couple years now. I am using this rock for the floor. I put down some landscaping fabric and then shoveled in the rock.
Once the cement dried I cut the corner 4x4s to height and used the cut off pieces for the inside legs to frame in the work tables. The height of the work tables is about 33″ off the ground. Framed the table tops with 2x4s and added 1x6s for the top deck of the work tables.
I ordered the U-MAX Greenhouse kit from Amazon. It was delivered in a few days, well packaged in two boxes. I opened everything up and inventoried the parts. All the frame parts and polycarbonate panels were there and undamaged but it was missing the screws to assemble the top vent window, I picked up the missing #8 x 3/8″ screws for a couple bucks from Lowe’s.
A lot of the reviews complained about the directions for the U-MAX Greenhouse kit being hard to follow and it being very difficult to assemble, I did not find either of these things to be the case. I would recommend reading the directions completely before starting assembly, then for each section re-read the directions for that section before starting on the section. There are some helpful call outs in each section that if you over look them, I could see how you could get into trouble.

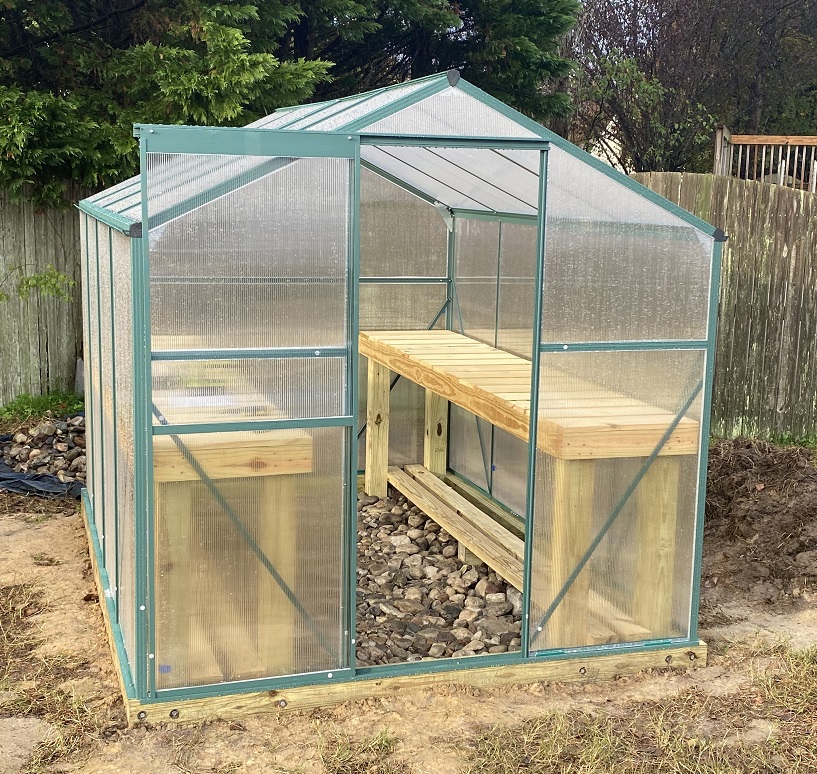
Overall I thought the directions were adequate and it was not very difficult to assemble. It took me about 4 hours to assemble, mostly by myself (this does not count building the 4×6 foundation and plant tables). I did need a second set of hands to get the top roof support in place, the wife helped me get that into place. The parts and pieces do not seem very robust when the greenhouse is disassembled but it is pretty sturdy after it is all put together and everything is tightened up. I attached the greenhouse to the 4×6 foundation using 2″ screws about every foot around the perimeter. I added some hanger straps from the top of the sides down to the 4×6 foundation to add a bit more security.
A modification I made based on some YouTube recommendations was to wrap all the edges of the polycarbonate panels with 1″ foil duct tape. A lot of the YouTubers used 2″ foil tape which they cut in half. This 1″ foil duct tape made it a bit easier, since I did not have to half it.
The foil tape seals the polycarbonate panels so water cannot get into the cells. It took 4 rolls of the foil duct tape to cover the sides of all the panels. This also snugged up the panels in the frame channels, seems to make it a bit more solid. We had a good rain the night after I got it put together and the greenhouse is fairly water tight, just a little leaking around the vent window on the roof.

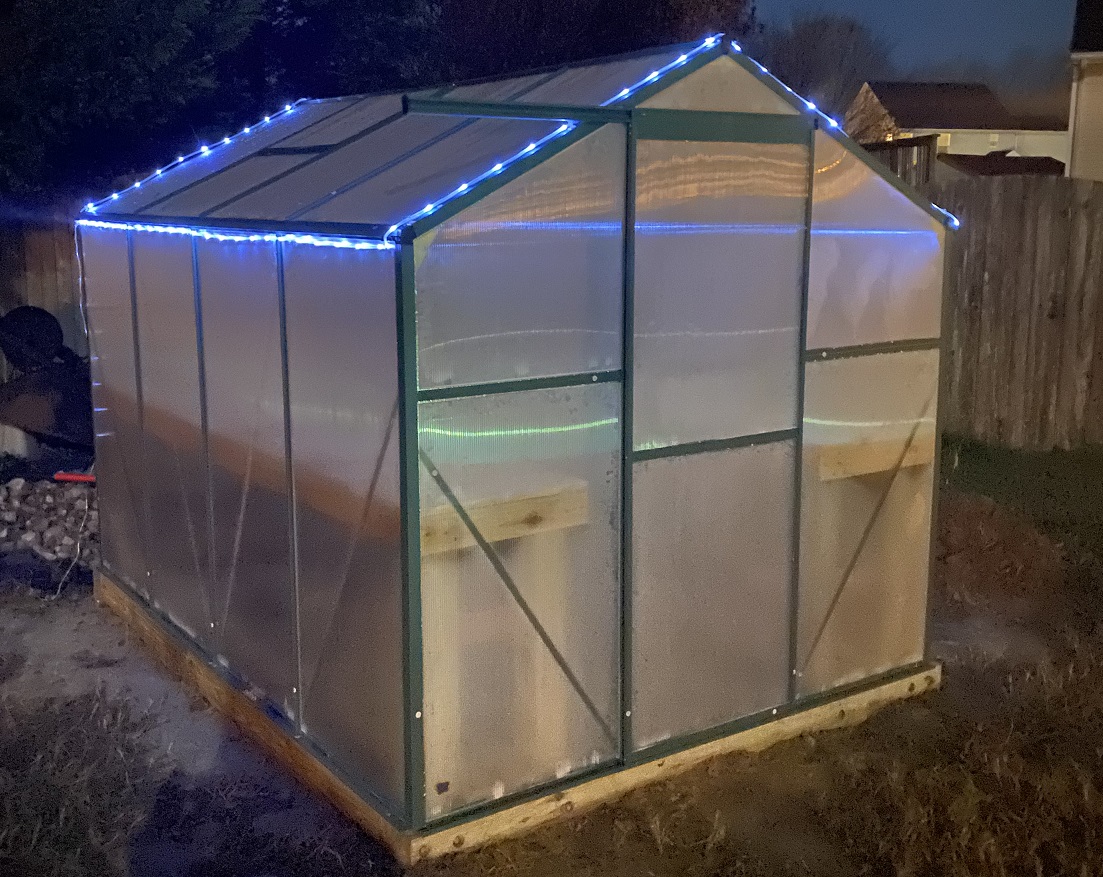
Of course it needed some lights. I picked up a set of inexpensive solar charging rope lights and ran them around the roof line. Looks pretty good if you ask me.
I also added a bluetooth digital thermometer/hygrometer which allows me to check the temperature from my phone and track the high and low temperature and humidity in the greenhouse.

There are a couple of other minor improvements I will likely make over time. I plan to make a latch for the door to keep it from sliding open. Even though the roof vent window is held closed pretty well I’ll probably add a latch for the roof vent to keep it securely closed. I am also going to figure out a bracket to mount the solar cell for the solar charging rope lights to the greenhouse roof.
We had some weather Monday, some rain and a lot of gusty winds. The greenhouse held up fine.
In total I spent about $550 for this project which included the wood (4x6s, 4x4s, 2x4s, and 1x6s) to build the foundation and work tables, the U-MAX Greenhouse kit, the 1″ foil duct tape, and the bluetooth digital thermometer/hygrometer. I am really happy with my backyard greenhouse, looking forward to starting seeds for my garden next year.
Yeah I know, not motorcycle stuff, but… whatever it was a fun project 🙂


